Common problems in carbide heading die usage, such as catastrophic cracking, premature wear, and surface galling, typically stem from a combination of factors including improper material selection, machine misalignment, inadequate lubrication, or incorrect operational parameters. Effective troubleshooting requires a systematic analysis of the failure mode—examining the die for specific symptoms—to identify the root cause, followed by targeted corrective actions. By implementing solutions like adjusting interference fits, optimizing lubricant application, ensuring precise machine alignment, and selecting the appropriate carbide grade for the application, manufacturers can significantly restore production efficiency, improve product quality, and extend the valuable service life of their tooling.
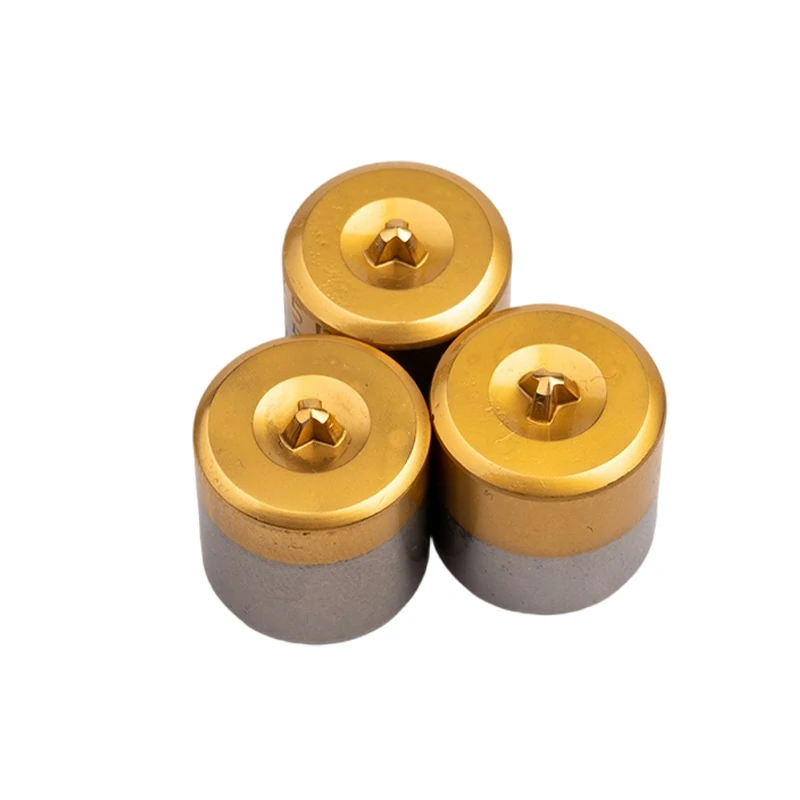
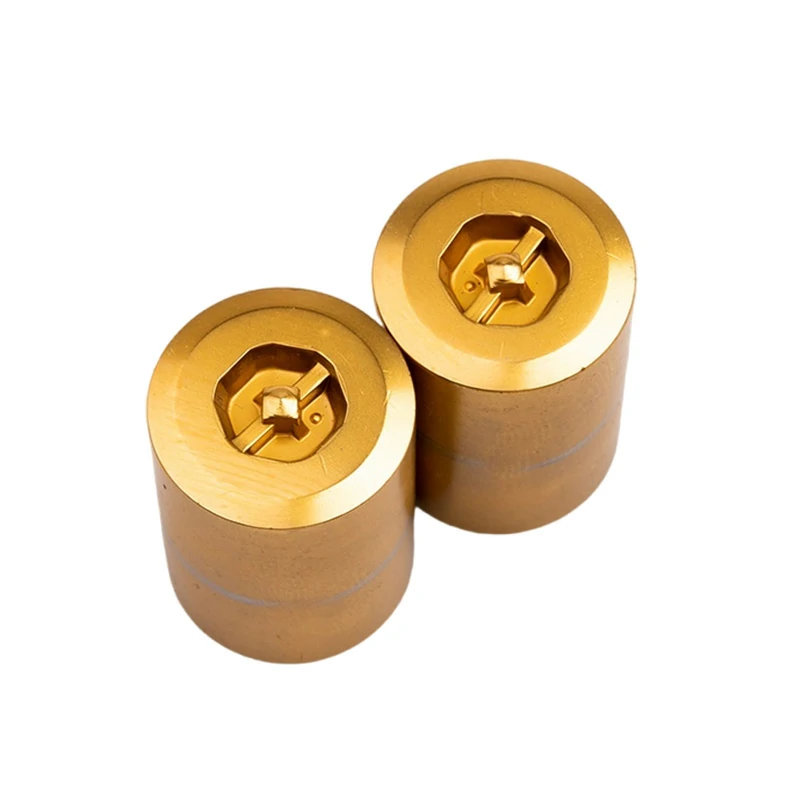
In the high-pressure world of cold forming and fastener manufacturing, carbide heading dies are the cornerstone of precision and productivity. Their exceptional hardness and resistance to wear make them indispensable. However, even the most robust tooling can encounter issues that lead to downtime, wasted material, and compromised product quality. At Xiluo Mold, we leverage decades of experience not just in manufacturing superior dies, but also in helping our clients diagnose and solve the challenges they face on the production floor. This comprehensive guide is designed to empower your team with the knowledge to identify, understand, and rectify the most common problems encountered with carbide heading dies.
Understanding the Root Causes: Why Do Carbide Heading Dies Fail?
Before diving into specific problems, it’s crucial to understand the fundamental principles that govern a die’s performance. Failures are rarely caused by a single issue; they are often the result of an imbalance in the complex interplay between the die, the machine, and the workpiece material. Understanding these core pillars is the first step toward effective troubleshooting and prevention.
The Critical Role of Tungsten Carbide Grade and Quality
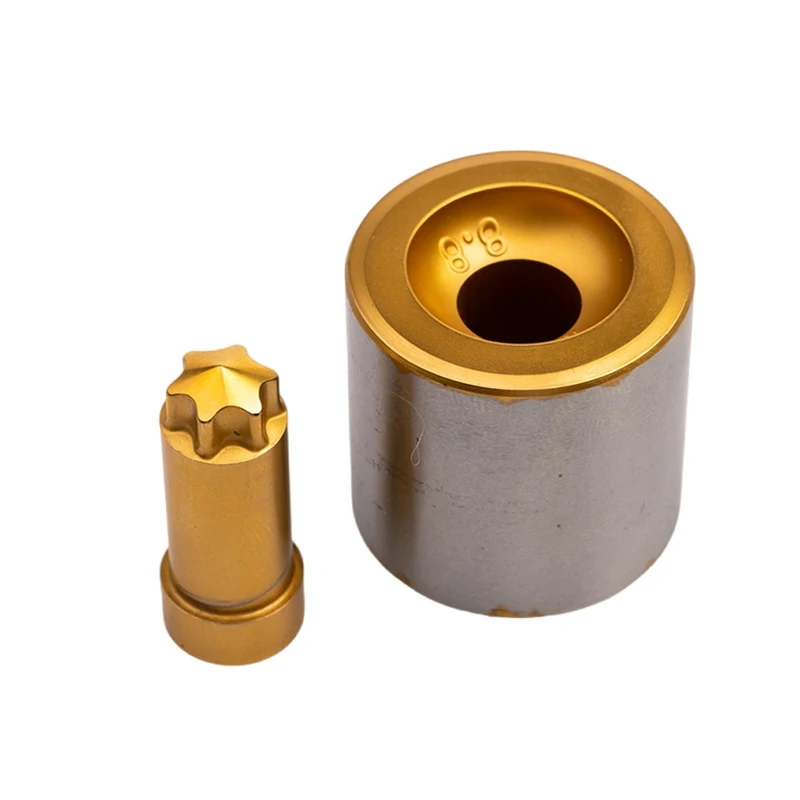
Not all carbide is created equal. The selection of the tungsten carbide (WC) grade is arguably the most critical factor in a die’s success. The grade is defined by its composition—primarily the percentage of cobalt (Co) binder and the size of the tungsten carbide grains. A higher cobalt percentage increases toughness and impact resistance, making it suitable for high-shock applications, but it reduces wear resistance. Conversely, a lower cobalt percentage with a finer grain size results in higher hardness and superior wear resistance, ideal for forming less-demanding materials. Using a grade that is too brittle for the application can lead to instant chipping or cracking, while a grade that is too soft will wear out prematurely. At Xiluo Mold, our material experts work closely with clients to specify the optimal grade based on the material being formed, machine speed, and part complexity.
The Impact of Machine Setup and Alignment
A heading machine is a system of immense force and precision. Even the slightest misalignment between the punch, die, and wire feed can create uneven loading, concentrating stress on one area of the die. This off-center force can easily exceed the carbide’s transverse rupture strength, causing it to crack. Proper alignment is non-negotiable. This includes ensuring the die case is perfectly perpendicular to the machine’s ram and that the punch is centered precisely within the die bore. Regular machine maintenance and calibration are essential to prevent alignment-related die failures.
The Double-Edged Sword of Lubrication
Lubrication in cold heading serves multiple purposes: it reduces friction, dissipates heat, and prevents the workpiece material from adhering to the die surface (galling). However, both insufficient and excessive lubrication can be problematic. Insufficient lubrication leads to increased heat and friction, accelerating wear and causing galling. On the other hand, an over-application of heavy lubricant can cause a “hydraulic lock” effect, where trapped lubricant creates immense internal pressure within the die cavity during forming, potentially leading to catastrophic fracture. The choice of lubricant—be it a straight oil, a soluble oil, or a synthetic—and its application method must be carefully matched to the material and the forming operation.
Problem 1: Catastrophic Failure – Cracking and Chipping
A cracked or chipped die is one of the most severe and costly failures, bringing production to an immediate halt. These failures are typically sudden and are almost always a symptom of excessive stress集中 (stress concentration) or an overwhelming shock load.
Identifying the Symptoms: Radial vs. Transverse Cracks
Observing the nature of the crack provides vital clues to its cause. Radial cracks, which start from the bore and extend outwards like spokes on a wheel, are often a sign of excessive internal pressure. This could be from an oversized workpiece, hydraulic lock from trapped lubricant, or too much interference fit between the carbide nib and the steel case. Transverse cracks, which run across the face of the die, typically indicate misalignment or improper support, causing the die to flex under load until it fractures. Chipping on the edge of the die bore often points to punch misalignment or a sharp, poorly radiused edge that acts as a stress riser.
Common Culprits: From Overloading to Thermal Shock
The primary causes of cracking are mechanical and thermal stresses that exceed the material’s limits. Overloading can result from a slug of oversized raw material entering the die or a setup error that applies too much forming pressure. An excessive interference fit (the tightness of the carbide nib pressed into its steel casing) is a very common cause, as it pre-loads the carbide with immense compressive stress, leaving little room to absorb the additional stress of the forming operation. Furthermore, thermal shock, caused by rapid temperature changes (e.g., hitting a cold die with hot material or improper application of coolant), can create internal stresses that lead to micro-cracks and eventual failure.
Actionable Solutions and Prevention Strategies
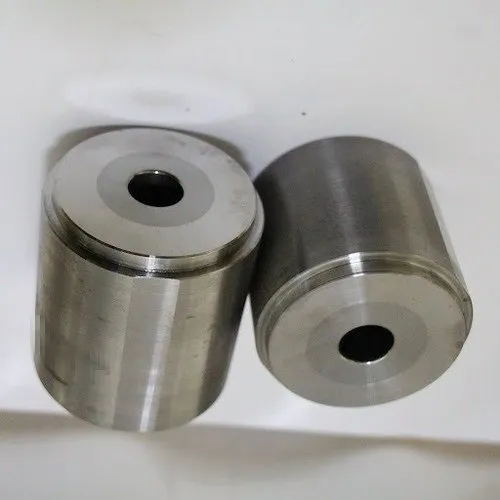
Preventing cracks involves a systematic approach to managing stress. This includes meticulously checking raw material for size consistency, ensuring machine settings are within specified limits, and verifying punch-to-die alignment. The interference fit must be calculated precisely for the application; a good starting point is 0.003 to 0.005 inches per inch of the nib’s diameter, but this can vary.
| Cause of Cracking/Chipping | Corrective Action & Prevention Strategy |
|---|---|
| Excessive Interference Fit | Consult with your die manufacturer (like Xiluo Mold) to confirm the optimal fit for your application. Use precision measuring tools to verify case and nib dimensions before assembly. |
| Machine/Punch Misalignment | Implement a rigorous, regular machine alignment and maintenance schedule. Use alignment tools to ensure concentricity before starting production. |
| Overloading / Oversized Material | Install material sensors and shear pins to protect tooling. Enhance quality control on incoming raw material to ensure it meets specifications. |
| Thermal Shock | Allow dies to warm to ambient temperature before use. Ensure a consistent and steady application of coolant rather than intermittent blasts. |
| Improper Die Design (Sharp Corners) | Ensure die designs incorporate appropriate radii at all corners and transitions to distribute stress. Partner with an experienced die designer. |
Problem 2: Gradual Degradation – Premature Wear and Abrasion
Unlike the suddenness of a crack, premature wear is a slow-acting problem that gradually degrades part quality and dimensional accuracy until the die is no longer usable. This is the most common failure mode and is often accepted as a “cost of doing business,” but its rate can be significantly controlled.
What Does Premature Die Wear Look Like?
Wear typically manifests as a “washing out” or erosion of the die’s critical features and bearing surfaces. You may notice a loss of sharp corners, an increase in the bore diameter, or the formation of a “wear ring” at the point of highest pressure. This leads to parts that are out of tolerance, have excessive flash, or exhibit poor surface finish. Monitoring part dimensions closely throughout a production run is the best way to track the progression of die wear.
Investigating the Causes: Is it Abrasive, Adhesive, or Corrosive Wear?
Understanding the type of wear is key to finding the solution. Abrasive wear is caused by hard particles in the workpiece material (like scale or oxides) scratching and gouging the die surface. This is common when using poorly cleaned or coated wire. Adhesive wear (a precursor to galling) occurs when microscopic “cold welds” form between the workpiece and die surfaces under high pressure, pulling away tiny fragments of the die material when they separate. Corrosive wear is less common but can be caused by reactive additives in lubricants breaking down the cobalt binder in the carbide matrix.
How to Extend Die Life: Your Wear-Resistance Checklist
Extending die life is about managing friction and protecting the die surface. First and foremost, ensure the raw material is clean and properly lubricated. A simple wire brush box or cleaning pad before the feed rolls can make a huge difference. Select the correct carbide grade; a harder grade with a smaller grain size will offer superior abrasive wear resistance. For highly demanding applications, consider advanced surface treatments. Physical Vapor Deposition (PVD) coatings like Titanium Nitride (TiN) or Titanium Aluminum Nitride (TiAlN) can create an ultra-hard, lubricious surface layer that dramatically reduces friction and extends die life by 2-5 times or more.
Problem 3: Surface Imperfections – Galling, Pitting, and Sticking
Galling, also known as material pickup, occurs when the workpiece material adheres to the surface of the die. This not only ruins the surface finish of the part but also increases friction and forming forces, which can lead to other failures.
Defining Galling and Its Impact on Fastener Quality
Galling is a severe form of adhesive wear. Under the extreme pressure and heat of the forming process, the protective lubricant film can break down. This allows direct, intimate contact between the workpiece material (e.g., stainless steel, titanium) and the die. Micro-welds form and are then torn apart, leaving pits on the part and transferring material onto the die surface. This results in parts with a rough, torn surface finish that are often scrapped. The stuck material on the die can also cause subsequent parts to stick, leading to production stoppages.
Key Factors: Lubrication Breakdown, Material Compatibility, and Surface Finish
The primary cause of galling is the failure of the lubrication barrier. This can be due to using the wrong type of lubricant (one without sufficient extreme pressure additives) or an inconsistent application. Certain workpiece materials, like austenitic stainless steels and some aluminum alloys, are inherently more prone to galling. Finally, the surface finish of the die itself plays a critical role. A rough or poorly polished die surface has more peaks and valleys (asperities) that can easily snag workpiece material and initiate the galling process. A mirror-like polish on the die’s working surfaces is one of the best defenses against galling.
Effective Solutions for a Flawless Finish
To combat galling, start with the lubricant. Switch to a high-performance lubricant with robust extreme pressure (EP) additives specifically designed for cold forming. Ensure the lubricant is applied consistently and floods the die area. Improve the surface finish of the die by polishing the bore and critical radii to a mirror finish (low Ra value). For materials that are extremely prone to galling, PVD coatings are an excellent solution, as they create a chemically inert barrier between the die and workpiece, preventing adhesion.
Proactive Maintenance: The Ultimate Troubleshooting Strategy
The most effective way to troubleshoot die problems is to prevent them from happening in the first place. A robust, proactive maintenance program is essential for maximizing die life and minimizing unplanned downtime.
Establishing a Routine Inspection Protocol
Dies should never be run until they fail. Implement a regular schedule for removing and inspecting dies, even if they are still producing good parts. Clean the die thoroughly and inspect the working surfaces under magnification for early signs of wear, micro-chipping, or material pickup. Keeping a detailed log for each die—tracking the number of parts produced, inspection findings, and any maintenance performed—can help identify trends and predict when a die will need to be replaced.
The Importance of Proper Die Storage and Handling
Tungsten carbide is hard but brittle, and it can be easily chipped or damaged if handled improperly. Dies should always be stored in protective packaging or dedicated storage racks to prevent them from knocking against each other. After cleaning, apply a light rust-preventative oil to all surfaces, as the steel casing is susceptible to corrosion, which can compromise the integrity of the interference fit.
When to Repair vs. When to Replace: A Cost-Benefit Analysis
Minor wear or light galling can often be repaired by re-polishing the die, which is a cost-effective way to extend its life. However, if the wear is substantial or if cracks are present, the die must be replaced. Attempting to run a compromised die is a false economy; it risks producing scrap parts, damaging other expensive tooling (like the punch), and potentially causing a catastrophic failure that could damage the machine itself. The cost of a new die is almost always less than the cost of major unplanned downtime and collateral damage.
Partnering with an Expert: How Xiluo Mold Elevates Your Production
Troubleshooting die problems can be complex, but you don’t have to do it alone. Partnering with an experienced and knowledgeable die manufacturer like Xiluo Mold transforms your tooling supplier into a valuable production consultant. Our expertise goes beyond simply supplying a part number; we engage with your process. We analyze your failure modes, evaluate your raw materials, and understand your production goals to recommend and design carbide heading dies that are optimized for performance and longevity. From selecting the perfect carbide grade and designing for optimal material flow to recommending advanced PVD coatings, our goal is to provide a comprehensive tooling solution that prevents problems before they start, ensuring you achieve maximum efficiency, superior part quality, and a better bottom line.
Article Summary & Quick Reference
This guide provides a comprehensive overview of troubleshooting common issues with carbide heading dies. Key problems include cracking/chipping (caused by overload, misalignment, or improper fits), premature wear (from abrasion and friction), and galling (due to lubrication failure). The solution lies in a holistic approach:
- Diagnose: Carefully examine the failed die to understand the failure mode.
- Analyze: Investigate root causes across materials, machine setup, and lubrication.
- Correct: Implement targeted solutions like adjusting fits, improving alignment, and upgrading lubricants or coatings.
- Prevent: Establish a proactive maintenance and inspection protocol to catch issues early.
By mastering these principles, you can significantly enhance the reliability and performance of your cold forming operations.
Table of Contents
- Understanding the Root Causes: Why Do Carbide Heading Dies Fail?
- Problem 1: Catastrophic Failure – Cracking and Chipping
- Problem 2: Gradual Degradation – Premature Wear and Abrasion
- Problem 3: Surface Imperfections – Galling, Pitting, and Sticking
- Proactive Maintenance: The Ultimate Troubleshooting Strategy
- Partnering with an Expert: How Xiluo Mold Elevates Your Production