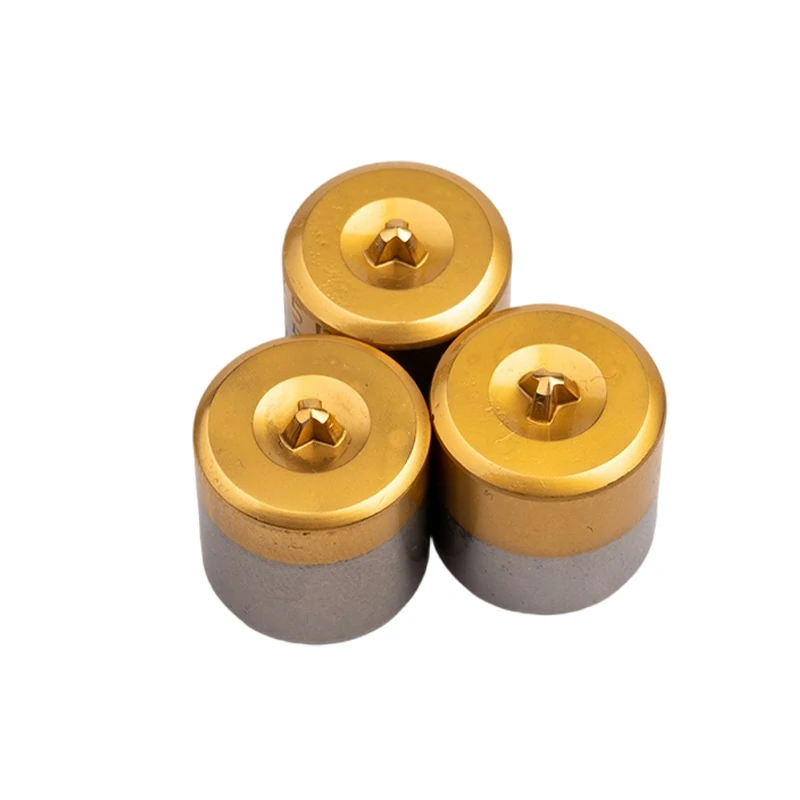
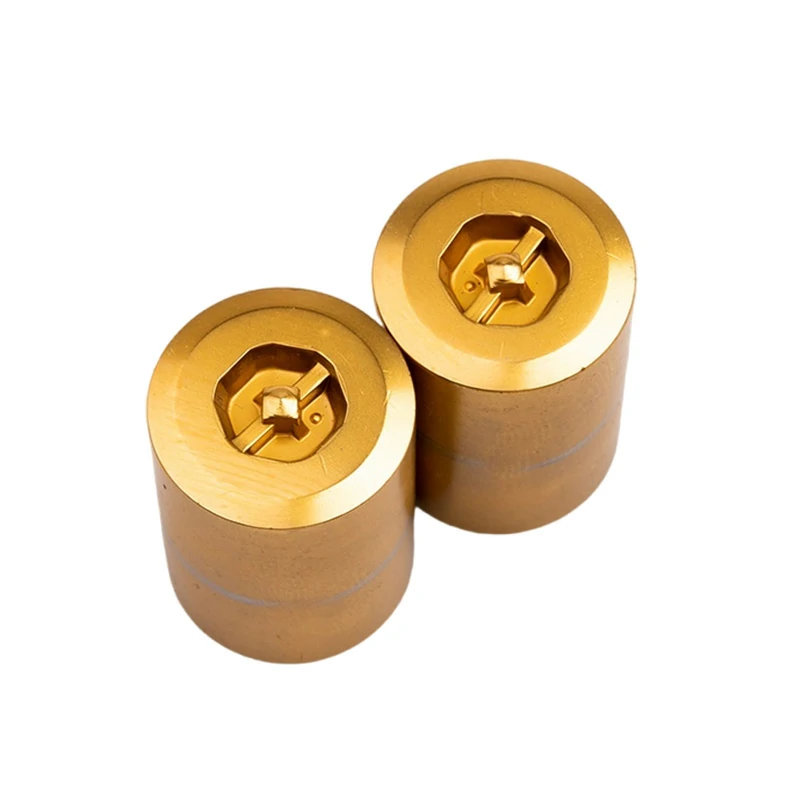
Effective maintenance of tungsten carbide cold heading dies involves a comprehensive lifecycle approach encompassing meticulous pre-production setup, vigilant in-process monitoring, and thorough post-production cleaning, inspection, and storage. Following these best practices is not just a recommendation; it’s a critical strategy that significantly extends die life, enhances final part quality, and minimizes costly operational downtime. For manufacturers relying on the cold heading process, mastering die maintenance transforms a significant expense into a competitive advantage, ensuring consistent performance and maximizing the return on your tooling investment.
At Xiluo Mold, we don’t just manufacture high-precision tungsten carbide dies; we partner with our clients to ensure they achieve maximum efficiency and longevity from their tooling. This guide distills our decades of experience into actionable best practices. By understanding the nuances of what to do, why it matters, and how to execute each step, you can unlock the full potential of your cold heading operations. From initial inspection to long-term storage, every detail counts.
Table of Contents
- Why is Meticulous Die Maintenance So Crucial?
- The Three Pillars of Cold Heading Die Maintenance: A Lifecycle Approach
- Advanced Maintenance Techniques: Cleaning and Polishing
- Troubleshooting: Identifying and Preventing Common Die Failures
- Partnering with an Expert for Maximum Die Performance
- Conclusion: Elevating Your Operations with Superior Die Maintenance
Why is Meticulous Die Maintenance So Crucial?
In the high-pressure world of cold forming, tungsten carbide dies are the heart of the operation. Their condition directly dictates the success of a production run. Neglecting maintenance isn’t a shortcut; it’s a direct path to increased costs and production headaches. The benefits of a robust maintenance program are multifaceted and impact every corner of your business.
- Maximizing Die Lifespan: Tungsten carbide is exceptionally hard, but it’s not indestructible. Proper care prevents the small issues—micro-chipping, galling, and stress fractures—that escalate into catastrophic failures. A well-maintained die can achieve hundreds of thousands, or even millions, of cycles, drastically lowering your cost-per-piece.
- Ensuring Consistent Part Quality: As a die wears, its critical dimensions change. This leads to parts that are out of tolerance, with poor surface finishes or structural defects. Consistent maintenance, including regular polishing and inspection, ensures every part produced meets stringent quality standards from the first piece to the last.
- Reducing Unplanned Downtime: A sudden die failure brings production to a grinding halt. The time spent troubleshooting, removing the broken tool, finding a replacement, and setting up the machine is pure loss. A proactive maintenance schedule allows you to identify potential failures before they happen, scheduling refurbishments or replacements during planned downtime.
- Significant Cost Savings: The math is simple. Longer die life means buying fewer replacement dies. Less downtime means more production output. Higher part quality means less scrap and rework. Cumulatively, these savings have a substantial positive impact on your bottom line.
The Three Pillars of Cold Heading Die Maintenance: A Lifecycle Approach
Effective die maintenance isn’t a single event but a continuous cycle. Thinking about it in three distinct phases—before, during, and after production—helps create a structured and foolproof process that ensures nothing is overlooked.
Phase 1: Pre-Production Preparation and Setup
Success begins before the first piece is ever formed. The steps you take during setup have an outsized impact on the die’s performance and longevity.
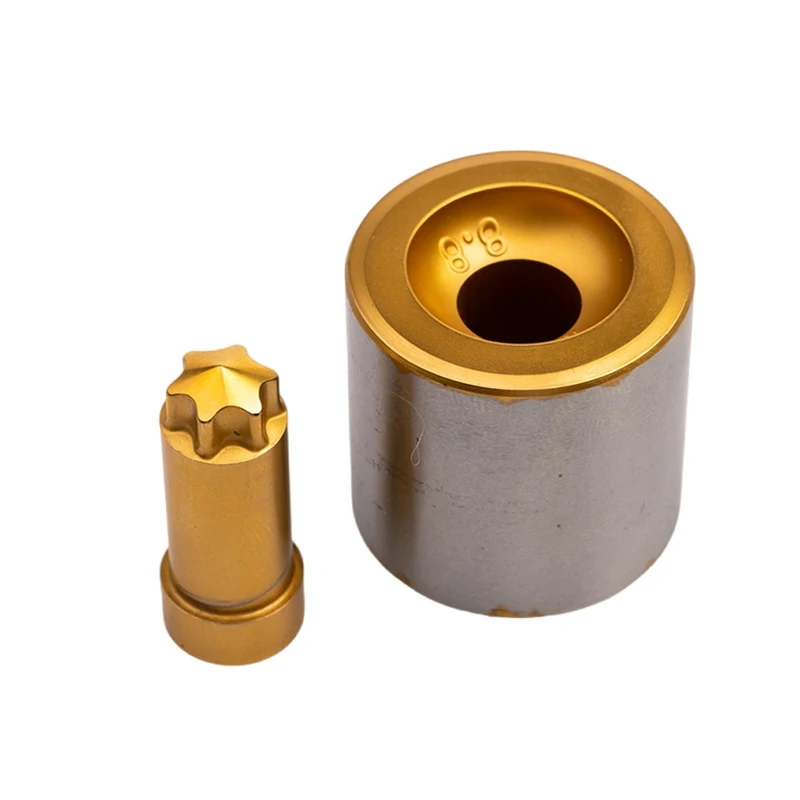
Initial Inspection: Before a new or refurbished die is ever placed in the machine, it must undergo a thorough inspection. Use magnification to check the die’s working surfaces, entry radii, and bearing zones for any signs of shipping damage, micro-cracks, or imperfections from storage. Verifying that the die is in perfect condition before it endures the immense pressures of cold heading is the first line of defense against premature failure.
Proper Alignment and Installation: This is arguably the most critical step for extending die life. Misalignment between the punch and the die is a primary cause of chipping, uneven wear, and catastrophic fracture. Ensure that the die is seated perfectly within the die case and that the entire tool assembly is precisely aligned within the cold heading machine. Check for parallelism and concentricity, making certain that forces are distributed evenly. Even a slight misalignment multiplies stress on specific areas of the carbide, leading to rapid breakdown.
Choosing the Right Lubricant: Lubrication is not one-size-fits-all. The lubricant’s role is to reduce friction, dissipate heat, and prevent galling (the adhesion of workpiece material to the die surface). The choice of lubricant should be based on the workpiece material, the severity of the forming operation, and the machine speed. Always ensure a clean, consistent, and ample supply of the correct lubricant is directed at the die and workpiece before and during the operation.
Phase 2: In-Process Monitoring and Adjustments
Once production begins, vigilance is key. An operator trained to recognize the early warning signs of die wear can prevent minor issues from becoming major problems.
Regular Visual Checks: Operators should perform periodic visual inspections of the parts being produced. Changes in surface finish, the appearance of flashing, or slight dimensional shifts are often the first indicators of die wear or material buildup. Catching these signs early allows for minor adjustments or a quick cleaning before significant damage occurs to the die or a large number of parts are scrapped.
Monitoring for Temperature and Friction: Excessive heat is the enemy of tungsten carbide. While some heat generation is normal, a sudden spike in temperature can indicate lubrication failure, excessive friction from galling, or a mechanical issue. Modern machines may have temperature sensors, but an experienced operator can often detect changes through sound and visual cues. Addressing the root cause of heat buildup immediately can save a die from thermal cracking.
Recognizing Early Signs of Wear: Teach operators to look for subtle indicators of wear on the die itself, such as a slight dulling of the finish in the bearing area or the initial stages of a wear ring at the entry point. Addressing this with light polishing during a planned stop can reset the surface and significantly prolong the die’s operational life before a major refurbishment is needed.
Phase 3: Post-Production Care and Storage
What happens after the production run is just as important as what happens before and during. Proper post-run procedures protect your tooling investment for the future.
Immediate Removal and Cleaning: Do not leave a used die in the machine overnight or for extended periods. Lubricants and workpiece residues can dry and harden, making them much more difficult to remove and potentially causing corrosion. Remove the die from the machine as soon as the run is complete and perform an initial cleaning to remove the bulk of contaminants.
Detailed Inspection and Damage Assessment: After cleaning, perform a detailed inspection under magnification. Look for signs of chipping, cracking, galling, and wear. Document the condition of the die and the number of parts produced. This data is invaluable for tracking performance, predicting die life, and identifying recurring problems in your process. This assessment determines if the die is ready for storage, needs minor polishing, or requires a more significant refurbishment.
Proper Storage Protocols: Never store tungsten carbide dies by simply tossing them in a drawer or bin. They are brittle and can easily be chipped by contact with other hard tools. Each die should be coated with a light rust-preventative oil, individually wrapped in protective material (like VCI paper or plastic), and stored in a designated, organized location where it cannot be damaged. Proper labeling with its part number and current condition (e.g., “Ready for Use,” “Needs Polish”) saves significant time during the next setup.
Advanced Maintenance Techniques: Cleaning and Polishing
Beyond the basic lifecycle, specific techniques for cleaning and polishing are essential skills for any team working with tungsten carbide tooling. Executed correctly, they restore performance; done incorrectly, they can ruin a die.
How to Properly Clean Tungsten Carbide Dies?
Cleaning’s goal is to remove all foreign material without altering the die’s surface or dimensions. Using the wrong method or materials can be abrasive and cause more harm than good.
A highly effective method is using an ultrasonic cleaner with a mild, non-acidic cleaning solution formulated for carbide. The ultrasonic waves create tiny cavitation bubbles that gently scrub the die’s surface, reaching into intricate details and removing stubborn residues without any mechanical abrasion. If cleaning manually, use soft brass brushes, wooden picks, or hard plastics to dislodge material. Never use steel wire brushes, hardened steel picks, or aggressive abrasives, as these will scratch and damage the precisely finished surface of the die.
Table: Do’s and Don’ts of Carbide Die Cleaning
| Do | Don’t |
|---|---|
| Use ultrasonic cleaners with appropriate solutions. | Use harsh, acidic, or chlorinated chemicals. |
| Use soft tools like brass brushes, wood, or plastic scrapers. | Use steel wire brushes, files, or any hardened steel tools. |
| Soak in a quality degreaser to loosen heavy buildup. | “Blast” the die with high-pressure, abrasive media. |
| Dry the die thoroughly immediately after cleaning. | Allow the die to air dry slowly, risking water spots or rust. |
| Apply a rust preventative before storage. | Store the die while it is still wet or dirty. |
The Art of Polishing: Restoring Your Die’s Surface
Polishing is a corrective action used to remove light galling, surface wear, and minor imperfections, thereby restoring the low-friction surface required for quality part production. It is a delicate process that requires a skilled hand.
Polishing should be done when visual inspection reveals a loss of the mirror finish, light surface scratching, or the beginning of a wear ring. The primary tool for this task is diamond paste/compound, applied with felt bobs, wood laps, or soft cloths. Start with a finer grit of diamond paste than you think you need and work in a rotational motion, following the direction of material flow through the die. The goal is to remove only the damaged surface layer, not to change the die’s dimensions. Over-polishing or using a grit that is too coarse can open up tolerances and ruin the die. After polishing, the die must be cleaned meticulously to remove all traces of the diamond compound.
Troubleshooting: Identifying and Preventing Common Die Failures
Understanding why dies fail is the first step toward preventing it. By linking a failure mode to its probable causes, you can implement targeted preventative measures in your setup and maintenance routines.
Table: Common Die Failures and Solutions
| Failure Mode | Probable Causes | Preventative Measures |
|---|---|---|
| Major Cracking / Fracture | – Misalignment – Overload / Excessive Tonnage – Improper die case support (interference fit) – Thermal shock (improper cooling) |
– Ensure precise tool alignment – Verify machine settings and tonnage – Use correct interference fits for die case – Ensure consistent lubrication/cooling |
| Chipping (at edges) | – Misalignment – Sharp, unblended edges on the die – Worn-out punch – Excessive die wear |
– Maintain perfect punch-to-die alignment – Specify small, blended radii on sharp edges – Regularly inspect and replace worn punches – Do not run dies past their wear limit |
| Galling / Material Pickup | – Inadequate or incorrect lubrication – Poor surface finish on the die – Incompatible die and workpiece materials |
– Optimize lubricant type and delivery – Polish die surfaces regularly – Consult die manufacturer for correct carbide grade and coatings |
| Rapid Wear / Abrasion | – Highly abrasive workpiece material – Insufficient lubrication – Incorrect carbide grade for the application |
– Use a more wear-resistant carbide grade or PVD coating – Increase lubrication flow – Consult Xiluo Mold to match carbide grade to your specific application |
Partnering with an Expert for Maximum Die Performance
While the maintenance practices outlined here are critical, they are only one part of the equation. The ultimate performance and lifespan of a cold heading die begin with its initial design and manufacture. Partnering with a specialist like Xiluo Mold ensures that your tooling is built for success from day one.
The selection of the correct tungsten carbide grade is paramount. Different grades offer varying balances of hardness, toughness, and wear resistance. Our experts work with you to analyze your specific application—the material being formed, the complexity of the part, and the operational speeds—to recommend a carbide grade that provides the optimal performance characteristics. Furthermore, design features like relief angles, bearing lengths, and the blending of radii are engineered to minimize stress and promote smooth material flow, inherently making the die more robust and resistant to common failure modes.
At Xiluo Mold, we see ourselves as more than just suppliers. We are your partners in production efficiency. By combining our expertise in die manufacturing with your team’s diligent maintenance efforts, we can create a synergistic relationship that pushes the boundaries of tool life and part quality. When you invest in a die from Xiluo Mold, you’re not just buying a tool; you’re gaining a foundation of quality and a resource for expert advice.
Conclusion: Elevating Your Operations with Superior Die Maintenance
Mastering the maintenance of tungsten carbide cold heading dies is a journey of continuous improvement that pays enormous dividends. By adopting a structured, lifecycle-based approach—from diligent pre-production setup to vigilant in-process monitoring and meticulous post-production care—you transform your tooling from a consumable expense into a reliable, long-term asset. This commitment to excellence reduces downtime, eliminates scrap, and ultimately lowers your cost per part, giving you a tangible edge in a competitive market.
Remember that the foundation of a long-lasting die is its initial quality. If you want to start with tooling that is engineered for durability and peak performance, the team at Xiluo Mold is here to help. Contact us today to discuss your cold heading challenges, and let’s work together to build a more efficient and profitable production process.