Troubleshooting precision errors in forming dies for tight-tolerance parts requires a systematic approach that begins with isolating the specific defect and then methodically analyzing the four primary contributing factors: the material properties, the press machine parameters, the die design and condition, and the forming process itself, including lubrication. Successfully diagnosing and rectifying issues like springback, wrinkling, galling, or dimensional inaccuracies hinges on making controlled, data-driven adjustments to one of these areas at a time to restore part conformity and production stability. This guide provides an expert framework for identifying and resolving these complex challenges.
Understanding the Four Pillars of Precision in Metal Forming
Before diving into specific defects, it’s crucial to recognize that a forming operation is a complex system. A change in one area can have ripple effects across the entire process. When a part falls out of tolerance, the root cause almost always lies within one of these four domains. A successful troubleshooter avoids guesswork and instead evaluates each pillar logically.
1. Material Properties and Inconsistencies
The raw material is the foundation of your final part. You can have a perfect die and a perfectly calibrated press, but inconsistent material will inevitably lead to inconsistent parts. Key material variables that cause precision errors include:
- Tensile Strength and Yield Strength: Variations between material coils, or even within the same coil, can significantly alter how the part forms and, most notably, the degree of springback. A higher yield strength will result in more springback.
- Thickness Fluctuations: Even minor changes in material thickness can affect die clearances, leading to issues like improper draws, burrs, or dimensional shifts. For tight-tolerance parts, this is a critical factor.
- Directionality (Grain): The grain direction of the sheet metal influences how it flows and stretches. Forming a bend parallel to the grain is much different than forming it perpendicular, potentially causing cracking or uneven shapes.
2. Press and Equipment Variables
The press is the engine of the forming operation. Its condition, settings, and stability are paramount. An improperly configured or maintained press can introduce errors that are often mistakenly blamed on the tooling.
- Tonnage and Ram Speed: Insufficient tonnage can prevent the die from fully closing, leading to under-formed features. Conversely, excessive speed can cause shock, impact lines, and even material tearing.
- Parallelism and Alignment: If the press bed and ram are not perfectly parallel, the die will close unevenly. This leads to inconsistent pressure distribution, causing parts to be out-of-square, thinned on one side, or improperly formed.
- Shut Height Consistency: The shut height determines the final compression point. Any drift or inconsistency in this setting directly translates to dimensional variation in the stamped part.
3. The Die Itself: Design, Wear, and Assembly
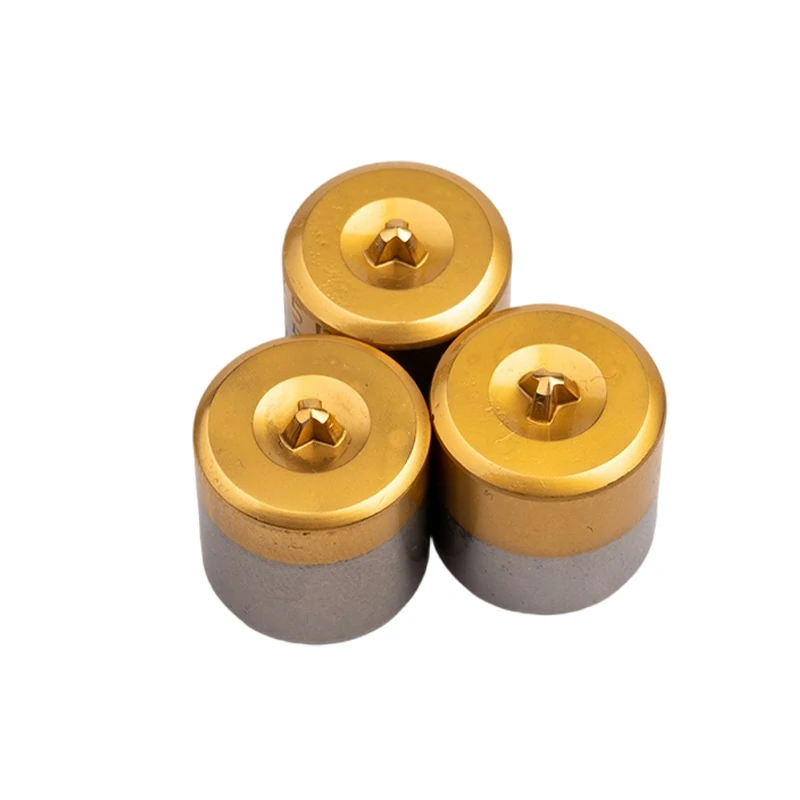
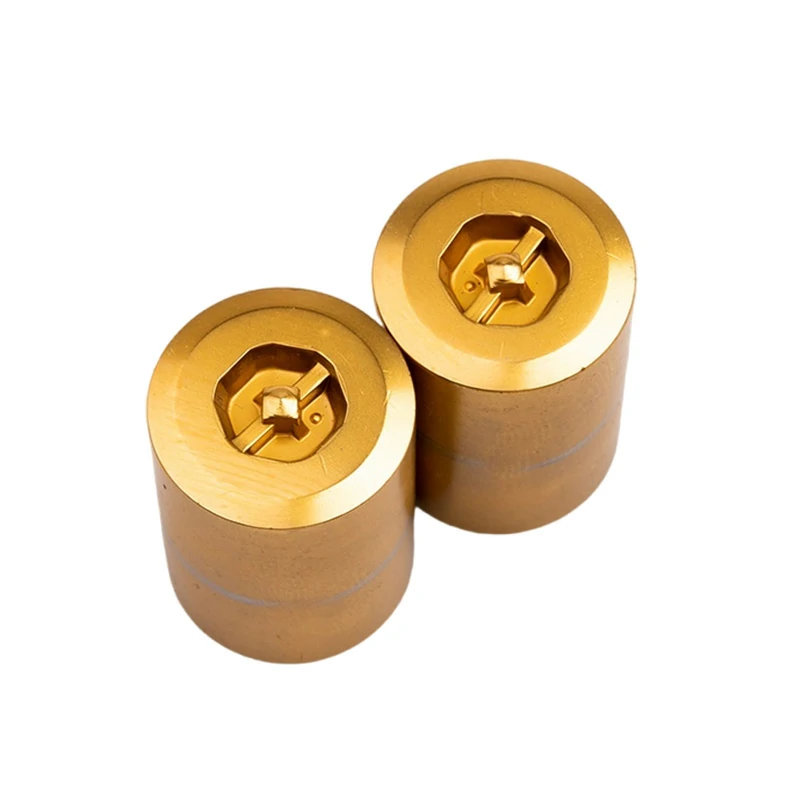
The forming die is the heart of the operation. Its design, manufacturing precision, and current condition are the most common sources of error. As die makers, we at Xiluo Mold know that excellence here prevents countless downstream problems.
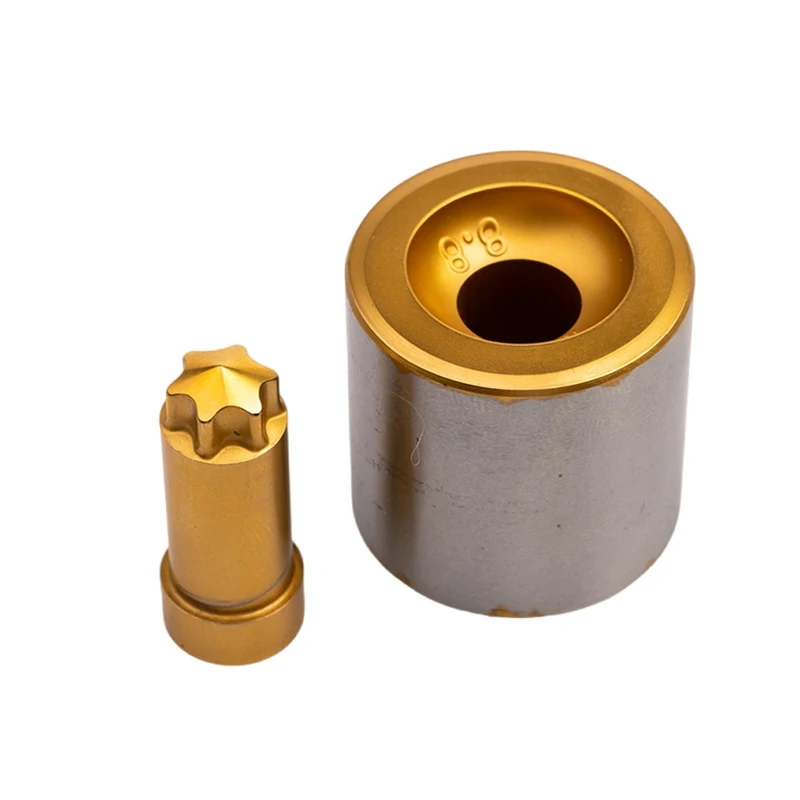
- Clearance: The gap between the punch and the die is one of the most critical design elements. If it’s too tight, it can cause pinching, excessive burrs, and high wear. If it’s too loose, the part will lack dimensional accuracy and may have a large, undesirable radius.
- Component Wear: Punches, die buttons, and forming steels naturally wear over time. This wear alters critical geometry, leading to a gradual drift out of tolerance. Sharp corners become rounded, and flat surfaces can become dished.
- Incorrect Assembly or Timing: In progressive dies, the timing and alignment of each station are critical. A misaligned pilot or a poorly set-up cam can cause a cascade of errors throughout the strip.
4. Process Parameters and Lubrication
This pillar covers the “how” of the operation. The choices made during setup and production directly impact the final part quality. It’s often the easiest area to make initial adjustments.
- Lubrication: The type, amount, and application method of lubricant are vital. Too little lubricant leads to galling, scoring, and increased friction that restricts material flow. Too much can cause hydraulic pressure pockets, resulting in dimples or incomplete forms.
- Part Ejection and Handling: How is the part removed from the die? An aggressive air blast or a poorly designed ejector system can distort a tight-tolerance part after it has been perfectly formed.
A Systematic 5-Step Methodology for Troubleshooting Forming Defects
When a problem arises, resist the urge to make multiple changes at once. Follow this structured process to efficiently identify and solve the root cause.
Step 1: Isolate and Clearly Define the Defect
What exactly is wrong with the part? Don’t just say it’s “bad.” Quantify the error. Is a hole 0.1mm off-center? Is an angle off by 2 degrees? Is there a 0.5mm deep scratch on the surface? Use calipers, CMM reports, and visual inspection to create a precise problem statement. This clarity is your starting point.
Step 2: Gather Data and Review the Process “As-Is”
Before changing anything, document everything. Check the material certification—does it match the spec? Verify the press settings—is the shut height correct? Inspect the die—are there signs of wear or damage? Talk to the press operator—did anything change recently? This fact-finding mission often reveals the culprit without requiring any tooling adjustments.
Step 3: Formulate a Hypothesis (The “What If” Stage)
Based on your data from Step 2 and your understanding of the Four Pillars, develop a theory. For example: “The springback has increased by 3 degrees. The material certification shows this new coil has a 5% higher yield strength. My hypothesis is that the material variation is the primary cause of the increased springback.“
Step 4: Implement a Single, Controlled Change
This is the most critical step. Only change one thing at a time based on your hypothesis. If your theory is about springback, you might try a small shim to slightly over-bend the part. Do not change the lubrication, press speed, AND add a shim all at once. If you do, you’ll never know which action solved the problem.
Step 5: Verify the Solution and Document the Findings
Run a small batch of parts after your change. Measure them carefully. Did the change fix the problem, make it worse, or have no effect? If the problem is solved, document the change in your process log. If not, revert the change and return to Step 3 to formulate a new hypothesis based on what you just learned.
Diagnosing and Solving Common Forming Defects in Tight-Tolerance Parts
Applying the methodology above, let’s explore how to address the most frequent precision errors encountered in stamping and forming operations.
The Springback Dilemma: How to Compensate for Material Memory?
Springback is the geometric change a part undergoes after being released from the forming pressures of the die. It is the material’s elastic tendency to return to its original shape. For tight-tolerance parts with critical angle requirements, managing springback is non-negotiable.
- Diagnosis: The part angle is consistently more open than the die angle. The amount of springback may vary with material batches.
- Common Causes: High material yield strength, insufficient bend radius, low holding pressure.
- Solutions:
- Geometric Compensation: The most common solution is to over-bend the part in the die. If a part springs back 3 degrees from a 90-degree die, the die angle is modified to 87 degrees.
- Restriking/Coining: Add a station that strikes the bend radius with intense, localized pressure. This coining action sets the material and drastically reduces elastic recovery.
- Stretch Forming: Design the die to slightly stretch the material during bending, which minimizes the material’s ability to spring back.
Wrinkling and Tearing: Why is Material Flow Failing?
Wrinkling occurs when excess material buckles due to compressive forces, typically in flange areas or drawn cups. Tearing or cracking happens when the material is stretched beyond its formability limit.
- Diagnosis: Wrinkles appear as wavy, folded material. Tears are visible fractures, often starting at a radius or sharp edge.
- Common Causes: Wrinkling is often caused by insufficient binder or blank holder pressure. Tearing is caused by excessive pressure, sharp die radii, or poor lubrication.
- Solutions:
- For Wrinkling: Increase blank holder pressure incrementally. Add “draw beads” to the binder surface to control and restrict material flow into the die cavity.
- For Tearing: Reduce blank holder pressure. Increase the punch or die radius to allow the material to flow more smoothly. Improve lubrication on the high-friction areas.
Galling and Scoring: What Causes Surface Adhesion?
Galling (or adhesive wear) is when microscopic friction welds form between the sheet metal and the die surface, which are then torn apart, leaving scratches, scores, or build-up on the tooling and the part. This is a severe issue for cosmetic and functional surfaces.
- Diagnosis: Deep, linear scratches or gouges on the part surface, often accompanied by shiny, built-up material on the die surface.
- Common Causes: Inadequate lubrication, incompatible die and part materials, rough tooling surface finish.
- Solutions:
- Improve Lubrication: Switch to a higher-performance lubricant with extreme pressure (EP) additives. Ensure it is applied evenly to the correct areas.
- Tooling Surface & Coating: Polish the die surfaces in the direction of material flow to a mirror finish. Apply advanced coatings like TiN, TiCN, or WC/C, which create a hard, lubricious barrier.
- Material Selection: Ensure the die steel is appropriate for the part material. For example, forming aluminum with standard tool steels is notoriously prone to galling without proper coatings.
Troubleshooting Quick Reference Table
| Defect | Probable Causes | Potential Solutions |
|---|---|---|
| Springback | Material yield strength variation; insufficient overbend; part design. | Adjust die angle (overbend); add restrike/coining station; check material certs. |
| Wrinkling | Low blank holder pressure; too much material flowing into die. | Increase binder pressure; add/adjust draw beads; check lubricant. |
| Tearing / Cracking | Excessive blank holder pressure; sharp die radius; poor lubrication. | Reduce binder pressure; increase die radius; improve lubrication. |
| Galling / Scoring | Inadequate lubrication; rough tool surface; incompatible materials. | Use high-performance lubricant; polish die surfaces; apply PVD/CVD coatings. |
| Dimensional Inaccuracy | Incorrect die clearance; tool wear; press shut height drift. | Measure and adjust clearances; inspect die for wear; calibrate press settings. |
Advanced Strategies for Prevention and Long-Term Precision
The best troubleshooting is proactive prevention. Building quality and stability into the process from the beginning minimizes downstream errors.
The Role of Finite Element Analysis (FEA) in Pre-Production
Modern die design relies heavily on simulation software. Using FEA, we can simulate the entire forming process digitally before cutting any steel. This allows us to predict and mitigate issues like wrinkling, tearing, and springback by optimizing the die design virtually. It is an indispensable tool for developing robust tooling for tight-tolerance parts.
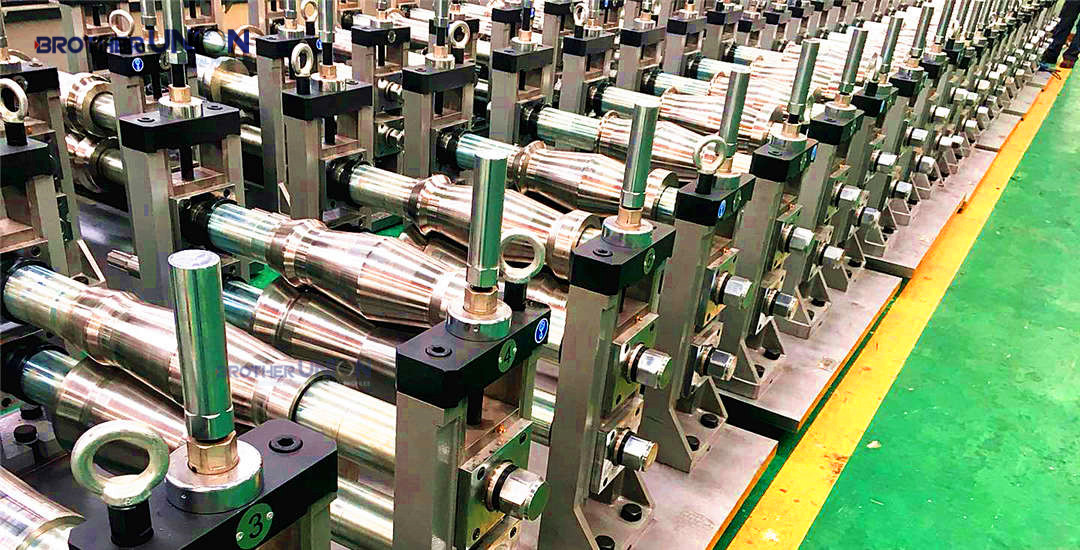
Implementing a Proactive Die Maintenance Program
A forming die is a high-precision asset that requires regular maintenance. A proactive program should include:
- Regular Cleaning and Inspection: After a set number of cycles, the die should be removed, cleaned, and inspected for wear, chipping, or galling.
- Component Sharpening: Cutting edges and punches must be sharpened regularly to ensure a clean-cut, burr-free part.
- Record Keeping: Keep a detailed log for each die, tracking its production cycles, maintenance history, and any adjustments made. This data is invaluable for predicting tool life and troubleshooting future issues.
Partner with an Expert for Lasting Precision
While this guide provides a robust framework for troubleshooting, some precision errors are deeply rooted in the initial die design and manufacturing process. Achieving and maintaining tight tolerances requires a die built with an expert understanding of material science, forming physics, and high-precision machining.
At Xiluo Mold, we don’t just build dies; we engineer comprehensive forming solutions. Our process integrates advanced FEA simulation, premium tool steel selection, and meticulous manufacturing to create tooling that is not only precise on day one but also robust and stable for millions of cycles. If you are facing persistent precision challenges, our team has the expertise to diagnose the root cause and provide a lasting solution, whether through tooling optimization or the design of a new, more capable die. Contact us today to discuss your tight-tolerance forming project.