Proper maintenance of carbide heading dies is crucial for extending their service life, reducing operational costs, and ensuring consistent product quality. By implementing a systematic maintenance routine that includes regular cleaning, meticulous inspection, correct handling, and optimal storage, manufacturers can significantly delay die wear, prevent premature failure, and maximize their return on investment in these critical tooling components. This comprehensive approach not only enhances die longevity but also improves the efficiency and reliability of the entire cold heading process.
Why Is Carbide Heading Die Maintenance So Important?
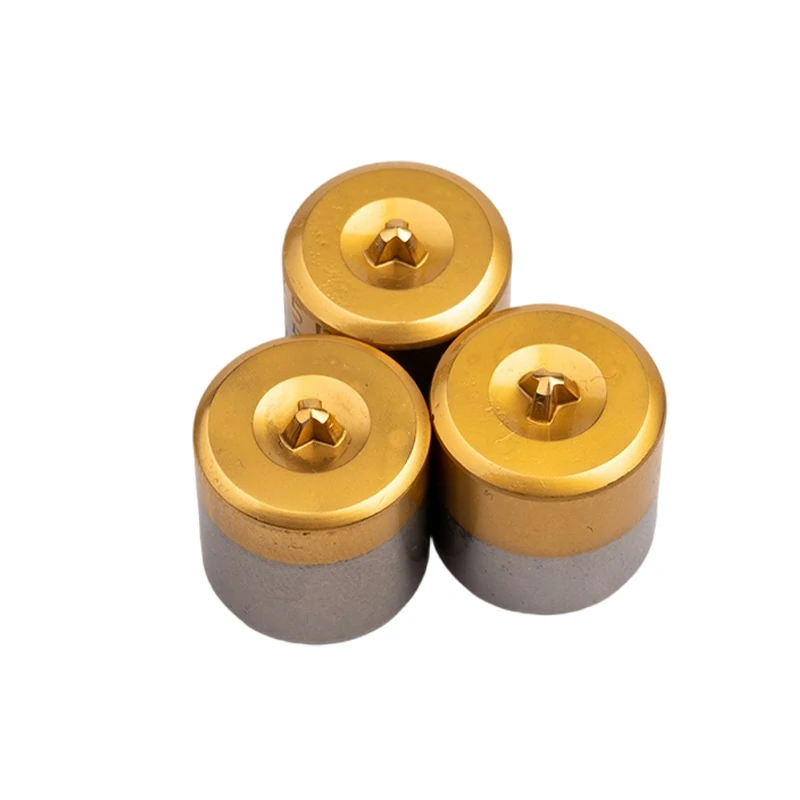
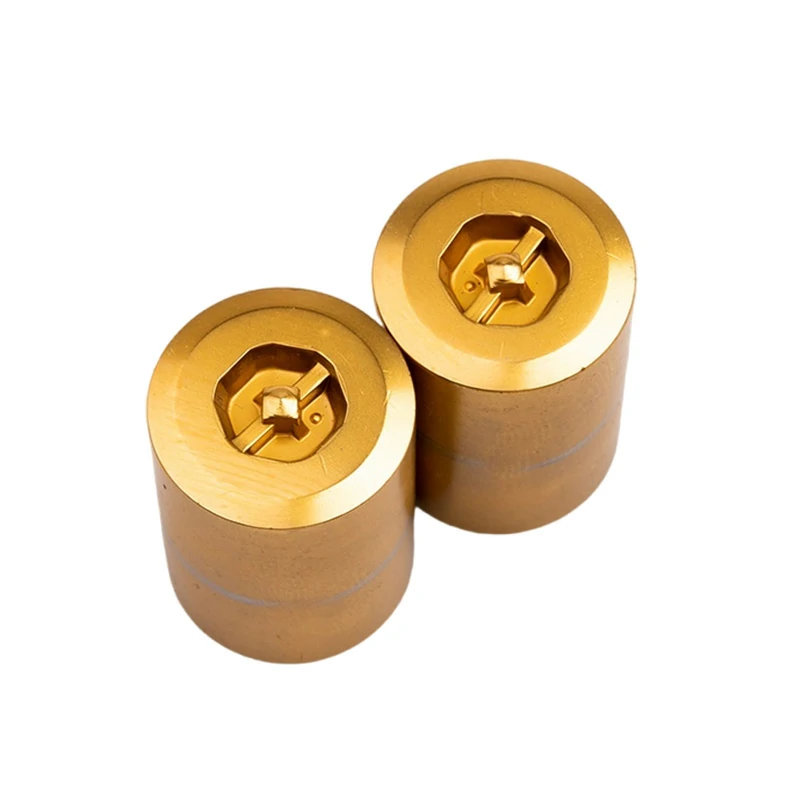
Carbide heading dies are the heart of the cold forming process, shaping metal wire into complex parts like screws, bolts, and rivets under immense pressure. Their longevity is not just a matter of convenience; it directly impacts your bottom line and operational efficiency. Neglecting die maintenance leads to a cascade of problems, including frequent downtime for tool changes, increased scrap rates due to out-of-spec parts, and the high cost of premature die replacement. On the other hand, a well-executed maintenance program transforms your dies from a consumable expense into a long-term, reliable asset. It ensures dimensional accuracy, superior surface finish on your products, and a safer working environment by preventing catastrophic die failures. Ultimately, investing time in maintenance pays significant dividends in tool life, productivity, and profitability.
What Are the Financial and Operational Benefits of Extending Die Life?
The advantages of a proactive maintenance strategy extend far beyond simply making a die last longer. The financial and operational benefits create a powerful ripple effect throughout your manufacturing facility. Operationally, you experience longer, uninterrupted production runs, leading to higher output and more predictable scheduling. This reliability reduces the stress on operators and maintenance teams. Financially, the benefits are even more direct. By maximizing the lifespan of each die, you drastically cut down on the annual budget allocated for tooling replacement. Furthermore, well-maintained dies produce less scrap, converting more raw material into sellable products and reducing waste disposal costs. This dual impact of lower costs and higher output directly enhances your company’s profitability and competitive edge.
A Step-by-Step Guide to Proper Carbide Heading Die Maintenance
A successful maintenance program is built on a foundation of consistent, well-defined procedures. From the moment a die is removed from the machine until it is safely stored, each step is critical. Adopting a systematic, multi-stage approach ensures that no aspect of die care is overlooked, guaranteeing that each die is always in optimal condition for the next production run. This guide breaks down the process into four essential pillars: Cleaning and Inspection, Polishing and Reworking, Handling and Setup, and Storage and Management.
Phase 1: Meticulous Cleaning and Inspection
The first step after removing a die from service is a thorough cleaning and inspection process. This is the diagnostic phase where potential problems are identified before they escalate into critical failures. It’s not just about wiping the die down; it’s a detailed examination that sets the stage for all subsequent maintenance activities.
How to Properly Clean Carbide Dies Without Causing Damage?
Effective cleaning is essential for accurate inspection. Start by removing any loose debris, metal shavings, and thick lubricant residue using a soft-bristled brush or compressed air (with appropriate safety precautions). For more stubborn grime, use a mild, non-corrosive industrial solvent and a soft cloth. Crucially, avoid harsh chemicals, acids, or abrasive tools like wire brushes and scrapers, as these can etch, scratch, or chip the delicate carbide surface. Ultrasonic cleaning baths with a suitable cleaning solution are an excellent, highly effective method for reaching deep into the die’s internal profiles and removing microscopic contaminants without causing physical damage. Always ensure the die is completely dry before proceeding to inspection to prevent rust and allow for clear visual analysis.
What Key Areas Should You Inspect for Wear and Tear?
With the die clean and dry, a detailed inspection under strong lighting and magnification is necessary. This isn’t a quick glance; it’s a forensic examination. Pay close attention to these critical zones:
- Bearing/Land Area: Look for signs of “washout,” where the material flow has eroded the die’s straight-bearing surface. This is a common wear pattern that affects part diameter.
- Approach/Radius: Check for heat checks (fine cracks), galling (material transfer), and chipping at the entry radius where the wire first makes contact.
- Die Bore: Inspect the entire internal profile for longitudinal score marks, rings, or galling, which indicate lubrication failure or issues with the wire material.
- Back Face: Ensure the surface that sits against the machine is flat and free of dents or debris, which could cause misalignment.
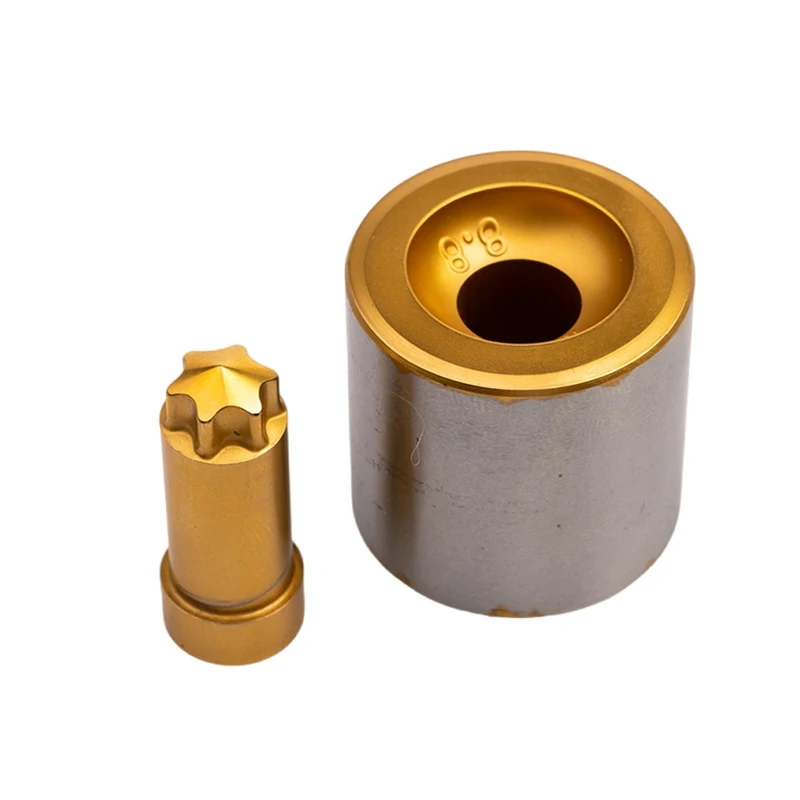
- Outer Casing: Check the steel casing for any cracks or signs of expansion, which could indicate that the carbide insert is failing under pressure.
Using bore-scopes, pin gauges, and optical comparators can help quantify wear and detect issues not visible to the naked eye. Documenting these findings with photos and notes is vital for tracking wear patterns over time.
Phase 2: Essential Polishing and Minor Reworking
Once you’ve identified early-stage wear, the next step is corrective action. Minor polishing and reworking can effectively “reset” the die’s working surface, removing initial damage and significantly extending its operational life. This is a proactive measure that prevents small imperfections from growing into die-ending flaws.
What Are the Best Practices for Polishing a Carbide Die?
Polishing is a delicate art that requires the right tools and a gentle touch. The goal is to restore the smooth surface finish, not to remove significant amounts of material. Use diamond polishing compound, starting with a coarser grit (if necessary for removing light scoring) and progressing to a very fine grit for the final mirror finish. Apply the compound using soft wood laps, felt bobs, or nylon brushes mounted on a low-speed, reversible rotary tool. It’s crucial to keep the tool moving and work in the direction of material flow (axially) to avoid creating cross-hatch patterns or altering the die’s geometry. Over-polishing or using excessive pressure can round sharp edges and change critical dimensions, so a conservative approach is always best.
When Should a Die Be Reworked vs. Replaced?
Knowing the line between a salvageable die and one that needs replacement is key to an efficient tooling strategy. A die can typically be reworked or repolished if the wear is minimal and superficial.
A simple table can help guide this decision:
| Condition | Action: Rework/Polish | Action: Replace |
|---|---|---|
| Light Galling or Material Pickup | Yes. Can be polished out with diamond compound. | No. |
| Minor Surface Rings or “Washout” | Yes. Can be polished or lightly ground if geometry allows. | No. |
| Major Cracks or Fractures | No. | Yes. Structural integrity is compromised; die is unsafe. |
| Significant Chipping at Critical Edges | No. | Yes. Affects part quality and can lead to total failure. |
| Wear Exceeding Max Rework Diameter | No. | Yes. The die can no longer produce in-spec parts. |
As a rule, if the damage is catastrophic (e.g., a major crack) or if reworking the die would take it outside of its dimensional tolerances, replacement is the only safe and logical option.
Phase 3: Correct Handling, Installation, and Setup
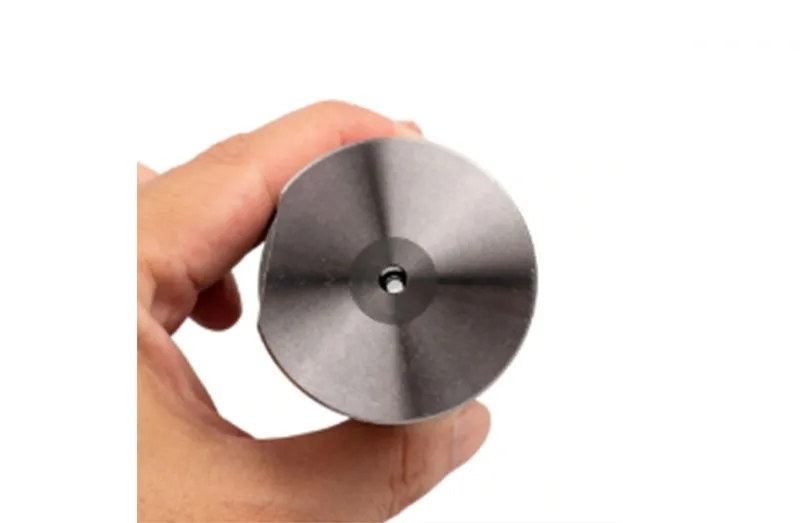
Even a perfectly maintained die can be ruined by improper handling or setup. Tungsten carbide is extremely hard but also brittle. The stresses of installation and machine operation are immense, and procedural errors can lead to immediate, catastrophic failure.
How Can Improper Handling Lead to Premature Die Failure?
Improper handling is a common but preventable cause of die failure. Dropping a die, even from a short height, onto a hard surface like concrete or steel can cause micro-cracks that are invisible to the naked eye. These cracks become stress concentration points and can lead to a complete fracture once the die is put under operational pressure. Using hard tools like steel hammers or punches to seat a die in the machine is another major risk, as the sharp impact can easily chip or crack the carbide. Always handle dies with care, using padded surfaces for placement and designated soft tools (like brass or aluminum punches) for installation to absorb impact and protect the brittle carbide.
Phase 4: Optimal Storage and diligent Record-Keeping
What happens to a die when it’s not in the machine is just as important as how it’s treated during production. Proper storage protects your tooling investment from damage and corrosion, while detailed record-keeping provides the data needed for continuous process improvement.
What is the Best Way to Store Carbide Heading Dies?
The ideal storage environment for carbide dies is clean, dry, and climate-controlled to prevent rust and corrosion. Dies should never be piled together in a bin or drawer where they can knock against each other and cause chipping. Instead, use a dedicated storage system with individual compartments, such as a custom-built rack or a modular cabinet with dividers. Before storage, apply a light coating of a high-quality rust-preventative oil or vapor corrosion inhibitor (VCI) spray. Ensure each die is clearly labeled with its part number, size, and current status (e.g., “Ready for Use,” “Needs Polish”). This organized approach not only protects the dies but also streamlines the tool selection process for machine setup, saving valuable time.
Why is Tracking Die Performance Data Crucial?
Tracking the performance of each individual die is a cornerstone of a world-class tooling program. By creating a log or database for each die, you can monitor its entire lifecycle. Key data points to track include:
- Total parts produced: Measures the die’s overall longevity.
- Number of maintenance cycles: Tracks how often the die needs polishing.
- Reasons for removal: Documents wear patterns (e.g., washout, galling).
- Machine and material used: Helps identify if certain machines or material batches cause faster wear.
This data transforms maintenance from a reactive task into a predictive science. By analyzing these trends, you can identify suboptimal operating conditions, compare the performance of dies from different suppliers (like Xiamen Xilu Mould), and make informed decisions to optimize your entire cold heading operation. It allows you to forecast tooling needs, budget more accurately, and continuously improve your maintenance protocols for maximum tool life and efficiency.