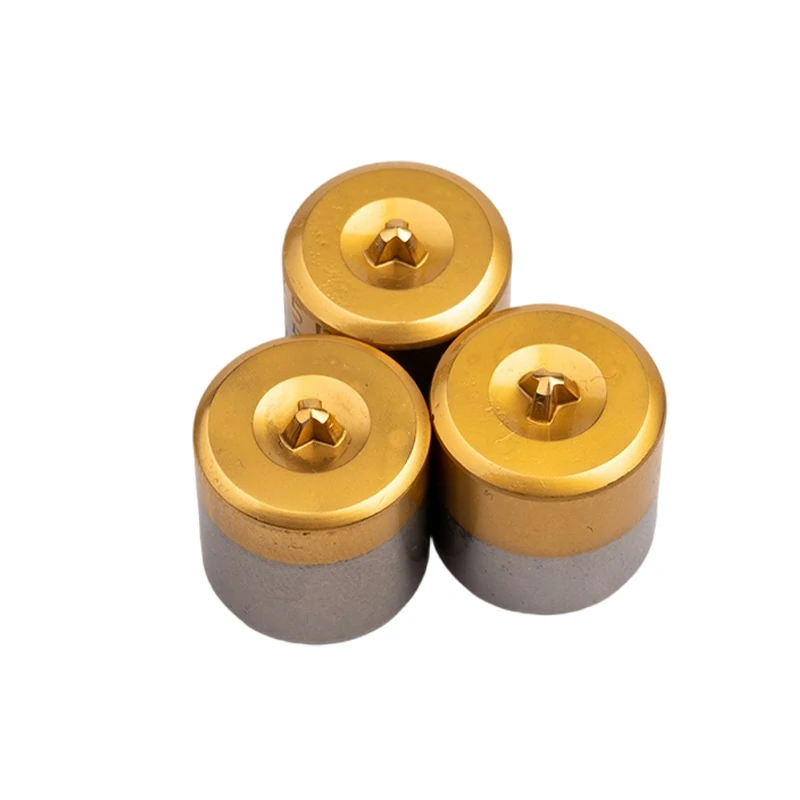
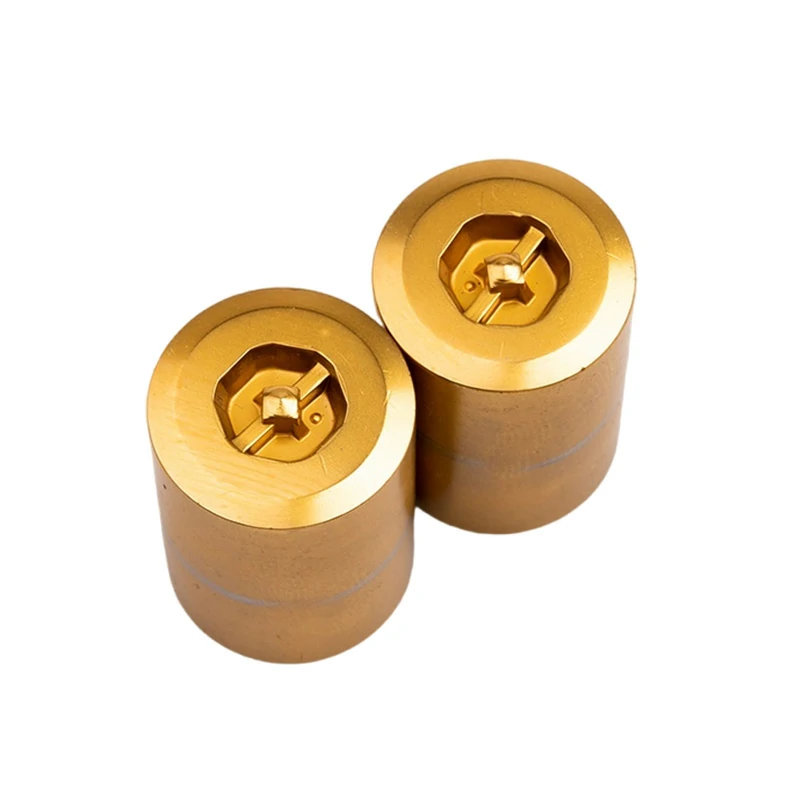
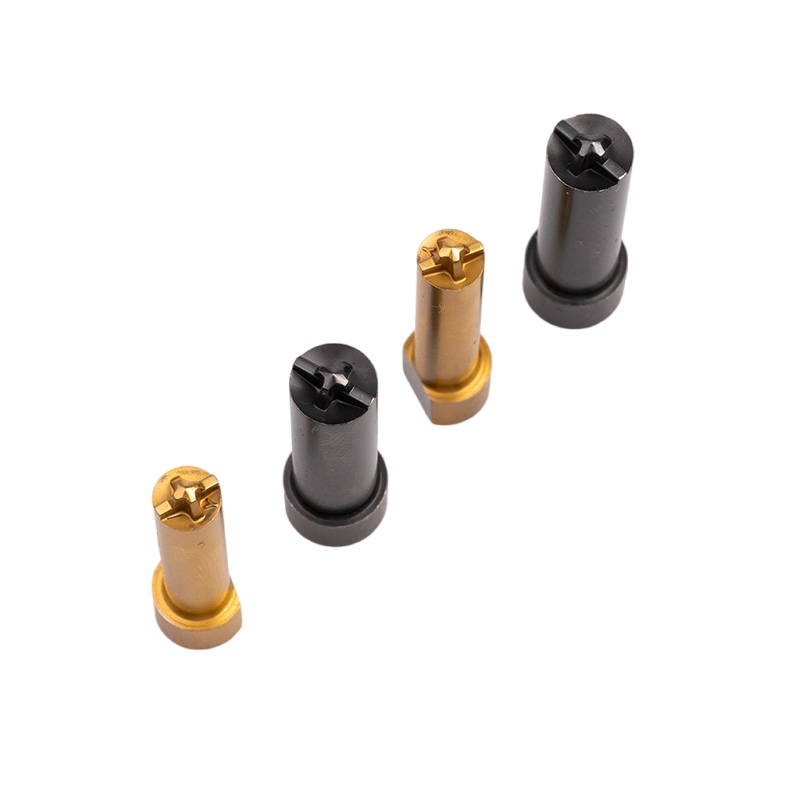
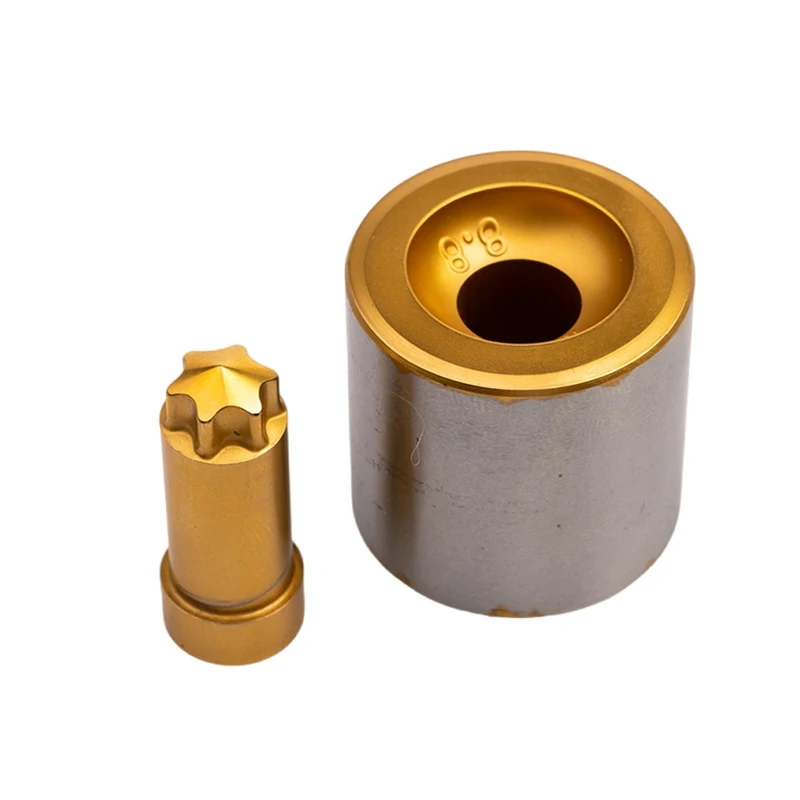
Effectively solving common challenges in forming dies for wire cold heading—such as premature wear, cracking, galling, and dimensional inaccuracy—requires a holistic approach that integrates advanced material science, precision die design, and meticulous process optimization. The key to extending die life and ensuring consistent part quality lies not in a single fix, but in a strategic combination of selecting the right tungsten carbide or tool steel, applying appropriate surface coatings, refining die geometry, and maintaining rigorous lubrication and machine alignment protocols. This guide provides actionable solutions to transform your cold heading operations from a challenge into a competitive advantage.
Table of Contents
- Understanding the Core Challenges: What Goes Wrong with Cold Heading Dies?
- The Strategic Solution Framework: A Three-Pillar Approach to Die Longevity and Performance
- Case Study in Action: How Xiluo Mold Solved a Complex Die Cracking Issue
- Frequently Asked Questions (FAQ) about Cold Heading Die Challenges
- Partner with the Experts for Unmatched Die Performance
Understanding the Core Challenges: What Goes Wrong with Cold Heading Dies?
In the high-pressure world of wire cold heading, forming dies are the heart of the operation. They are subjected to immense cyclical stresses, friction, and impact forces with every part produced. Understanding the primary failure modes is the first step toward building a robust and reliable manufacturing process. These issues are rarely isolated; for example, excessive wear can lead to stress concentrations that eventually cause a catastrophic fracture.
1. Premature Die Wear: The Silent Profit Killer
Die wear is the gradual removal of material from the critical working surfaces of the die. It’s an inevitable process, but when it happens too quickly, it leads to production downtime, increased tooling costs, and a loss of part quality. There are three primary types of wear to consider:
- Abrasive Wear: This is caused by hard particles in the workpiece material (like carbides in alloy steels) or external contaminants scratching and gouging the die surface. It results in a loss of the die’s original shape and a poor surface finish on the final part.
- Adhesive Wear: Also known as galling or seizing, this occurs when microscopic points on the workpiece and die surfaces cold-weld together under extreme pressure. As the surfaces move, these welds are torn apart, pulling material from one surface to the other, leading to significant surface damage.
- Fatigue Wear: This results from repeated cyclical loading and unloading. Micro-cracks form on or below the die surface, which then propagate and cause small pieces of the die to flake or spall off. This is common in areas of high repetitive stress.
2. Catastrophic Die Failure: Cracking and Fracture
While wear is a gradual failure, a crack or fracture is an abrupt, catastrophic event that brings production to an immediate halt. These failures are often the result of stresses exceeding the material’s ultimate tensile strength. Key causes include stress concentration in sharp internal corners or radii, improper heat treatment that leaves the material too brittle, or excessive hoop stress in the die cavity. A lack of sufficient material toughness or a flawed press setup that introduces misalignment and off-center loading can also be major contributors.
3. Galling and Material Pickup: When Surfaces Stick
Galling is a severe form of adhesive wear, particularly common when forming materials like stainless steel, aluminum, and titanium. It begins with high surface friction and inadequate lubrication, leading to cold welding between the wire and the die. This material pickup not only damages the die surface but also ruins the finish of the formed parts and can cause them to get stuck in the die, leading to major production stoppages. The problem is often exacerbated by high forming speeds and pressures.
4. Dimensional Inaccuracy and Inconsistency
As the die wears, its internal geometry changes. This directly translates to parts that no longer meet the required dimensional tolerance. A worn extrusion angle or a radiused corner that has sharpened over time will produce a completely different part than a new die. This inconsistency leads to increased scrap rates, costly sorting operations, and potential rejection by the end customer. Maintaining tight control over part dimensions is impossible without first controlling die wear.
The Strategic Solution Framework: A Three-Pillar Approach to Die Longevity and Performance
Overcoming these challenges requires a comprehensive strategy. At Xiluo Mold, we approach die performance through three interconnected pillars: Material Science, Precision Engineering, and Process Optimization. By addressing all three, you can create a synergistic effect that dramatically improves die life and part quality.
Pillar 1: Advanced Material Selection and Treatment
The foundation of a durable forming die is the material it is made from. The choice between different grades of tungsten carbide and tool steel is a critical decision based on the specific application, the wire material being formed, and the primary failure mode you are trying to prevent.
Choosing the Right Material: Tungsten Carbide vs. Tool Steels
There is no single “best” material; there is only the best material for your specific job. Tungsten Carbide (WC) offers exceptional compressive strength and wear resistance but can be more brittle than steel. High-speed tool steels offer better toughness, making them more resistant to chipping and cracking under shock loads. Modern powder metallurgy (PM) steels offer a compromise, providing excellent wear resistance with improved toughness over conventional tool steels.
| Material Type | Key Strengths | Best For | Considerations |
|---|---|---|---|
| Tungsten Carbide (WC-Co) | Extreme hardness, high compressive strength, superior abrasive wear resistance. | High-volume production, extrusion dies, forming abrasive materials like stainless steel. | Higher cost, lower toughness (brittleness). Grade selection (cobalt %) is critical. |
| High-Speed Steels (M2, M42) | Good balance of toughness and hardness, resistant to heat softening. | Punches, complex shapes, applications with high shock loads. | Will wear faster than carbide in abrasive applications. |
| PM Tool Steels (ASP2023, etc.) | Very fine grain structure, excellent wear resistance combined with good toughness. | Bridging the gap between HSS and Carbide for challenging applications. | Higher cost than conventional tool steels. |
The Power of Surface Coatings and Treatments
Even the best base material can be enhanced. Surface treatments create a micro-thin, ultra-hard layer that acts as the first line of defense against wear and galling. A PVD (Physical Vapor Deposition) coating like TiN (Titanium Nitride) or AlCrN (Aluminum Chromium Nitride) can drastically increase surface hardness and reduce the coefficient of friction. This lubricity is key to preventing material pickup. For tool steels, processes like nitriding can create a hard case that improves wear resistance without making the entire tool brittle.
Pillar 2: Precision Die Design and Engineering
How a die is designed is just as important as what it’s made of. Intelligent engineering can design-out stress and design-in smooth material flow, directly combating the root causes of failure.
Why Geometry is King: Radii, Angles, and Landings
Sharp internal corners are the number one cause of stress concentration and subsequent cracking. By engineering generous, highly polished radii in these critical areas, stress can be distributed over a larger area, significantly increasing the die’s resistance to fracture. Similarly, optimizing the back-taper and bearing (land) lengths ensures that the material flows smoothly through the die, reducing the force required for forming and minimizing friction and heat generation.
The Importance of Pre-stressing: Interference Fits
Tungsten carbide is incredibly strong in compression but relatively weak in tension. During forming, the internal pressure creates massive tensile (hoop) stresses that try to split the die. To counteract this, carbide die inserts are almost always pre-stressed by shrink-fitting them into a larger steel casing. This interference fit places the carbide insert into a state of high compression before it ever sees a workpiece. The internal forming pressure must first overcome this compressive force before it can put the carbide into a state of tension, drastically increasing its functional strength and fatigue life.
Pillar 3: Process Optimization and Maintenance
The world’s best die will fail quickly in a poorly controlled process. Optimizing the entire cold heading environment is the final pillar of high performance.
Lubrication: The Unsung Hero of Cold Heading
Lubrication is arguably the most critical variable in any cold heading operation. Its job is to separate the workpiece and die surfaces, reduce friction, and carry away heat. For many materials, this starts with a wire coating, such as a phosphate and soap layer, which acts as a solid lubricant carrier. This is supplemented by high-pressure lubricating oils in the machine. A breakdown in lubrication is the fastest way to cause catastrophic galling and die failure.
Machine Setup and Alignment: The Foundation of Success
Proper alignment of the punch and die is non-negotiable. Any misalignment introduces off-center forces that can cause uneven loading, stress concentration on one side of the die, and immediate failure. Regular machine maintenance and the use of precision alignment tools are essential for ensuring that the forming forces are distributed evenly, just as the die was designed to handle.
Proactive Maintenance and Polishing
Don’t wait for a die to fail. Implement a proactive maintenance schedule. After a set number of parts, dies should be removed, cleaned, and inspected under magnification for early signs of wear or micro-cracking. A light re-polishing of the working surfaces can remove incipient galling and smooth out minor wear patterns, effectively resetting the die’s surface and significantly extending its overall life.
Case Study in Action: How Xiluo Mold Solved a Complex Die Cracking Issue
A client in the automotive sector was struggling with forming a complex stainless steel fastener. Their existing tungsten carbide dies were failing due to radial cracking after only 50,000 pieces, causing significant downtime. The Xiluo Mold engineering team conducted a failure analysis. We identified a sharp corner in the design as a major stress riser and noted that the selected carbide grade, while very hard, lacked the necessary toughness for the application’s high side-loading. Our solution was twofold: first, we redesigned the die to include a blended, polished radius in the critical corner. Second, we recommended a tougher grade of tungsten carbide with a slightly higher cobalt binder content. The result was a dramatic increase in performance, with the new dies consistently lasting over 200,000 pieces—a 4x improvement in tool life—which significantly reduced the customer’s cost per part.
Frequently Asked Questions (FAQ) about Cold Heading Die Challenges
- How can I quickly tell if my die wear is excessive?
- The best indicator is the part itself. Use calipers or a micrometer to regularly check the critical dimensions of the parts being produced. When you see a consistent trend of dimensions moving out of the specified tolerance range, it’s a clear sign that the die has worn beyond its useful life.
- What is the single biggest factor in extending die life?
- While all factors are important, proper and consistent lubrication is often the single most critical element. A failure in the lubrication system can destroy a die in minutes, whereas a well-lubricated die made from the correct material can last for hundreds of thousands or even millions of cycles.
- Is a more expensive die material always better?
- Not necessarily. The “best” material is the one most suited to the specific application. Using an extremely hard but brittle grade of carbide for a job with high shock loads might lead to premature cracking, where a tougher, less expensive tool steel would have performed better. The goal is to match the material properties (hardness, toughness, wear resistance) to the demands of the job.
- How often should I inspect my forming dies?
- This depends on the production volume, the material being formed, and the complexity of the part. A good starting point is to establish a baseline by inspecting a new die after a set number of cycles (e.g., 25,000). Based on the level of wear observed, you can establish a regular, proactive inspection and maintenance interval to catch problems before they become catastrophic.
Partner with the Experts for Unmatched Die Performance
Navigating the complex challenges of wire cold heading requires more than just high-quality tooling; it requires a partner with deep expertise in material science, precision manufacturing, and process application. At Xiluo Mold, we don’t just sell dies—we provide solutions. Our team of engineers is ready to work with you to analyze your most difficult forming challenges and develop custom tooling that delivers unparalleled performance and longevity.
If you’re tired of fighting premature die wear, unexpected failures, and inconsistent quality, it’s time to partner with an expert. Contact Xiluo Mold today to discuss your specific application and discover how our advanced forming die solutions can revolutionize your production process.
