The 10 best practices for maintaining forming dies involve a comprehensive program of regular cleaning, proper lubrication, routine visual and dimensional inspections, timely sharpening, proactive replacement of wear components, correct handling and storage, detailed record-keeping, operator training, precise setup calibration, and strategic inventory of spare parts. Embracing these pillars of preventative maintenance is the single most effective way to protect your significant investment in tooling. A well-maintained die not only lasts longer but also consistently produces high-quality parts, minimizes costly unplanned downtime, and enhances overall operational efficiency. This guide will delve into each of these critical practices, providing actionable insights to help you build a world-class die maintenance program.
Why is a Proactive Die Maintenance Program Non-Negotiable?
In the world of manufacturing, forming dies are the heart of production. They are high-precision, high-value assets directly responsible for the quality and consistency of your final product. Neglecting their upkeep is a direct path to decreased profitability. A reactive approach—fixing dies only when they break—leads to catastrophic failures, emergency repairs, missed deadlines, and scrapped parts. In contrast, a proactive and systematic maintenance program transforms tooling from a liability into a reliable asset. It’s a strategic investment that pays dividends through enhanced die life, improved part quality by preventing defects like burrs and cracks, and a significant reduction in press downtime, which is often the most expensive consequence of die failure.
The 10 Best Practices for Forming Die Maintenance
Implementing a structured approach is key. Below are the ten foundational practices that form the bedrock of an effective tool and die maintenance strategy. Each step builds upon the last to create a comprehensive system of care for your tooling.
1. Implement a Rigorous Cleaning Schedule
Cleaning is the first and most fundamental step in die maintenance. During operation, dies accumulate metal shavings, lubricant residue, dirt, and other debris. If left unchecked, this buildup can cause a host of problems, including galling (adhesion between the die and workpiece surfaces), scratches on the part surface, and incorrect part dimensions. A formal cleaning schedule prevents these issues before they can escalate.
Your cleaning protocol should be multi-tiered. In-press cleaning between shifts or runs can be a quick wipe-down to remove major debris. However, a more thorough bench cleaning is required at regular intervals. This involves removing the die from the press and using appropriate non-abrasive tools like soft cloths, brushes, and approved solvents to meticulously clean all surfaces, vents, and cavities. The frequency of deep cleaning should be determined by factors like production volume, the type of material being formed (e.g., abrasive materials require more frequent cleaning), and the complexity of the die itself.
2. Master the Art of Proper Lubrication
What is the role of lubrication in die maintenance? It’s much more than just reducing friction. The correct lubricant, applied properly, creates a protective barrier that prevents metal-to-metal contact, dissipates heat, and helps flush away small particulates. Using the wrong type of lubricant—or an insufficient amount—is a leading cause of premature die wear and failure. It can lead to scoring, galling, and even catastrophic die breakage.
It’s crucial to follow the die manufacturer’s or a lubrication expert’s recommendations for the specific type, viscosity, and application method. The choice of lubricant depends heavily on the workpiece material, the severity of the forming operation, and the die’s material. Ensure that lubricants are applied evenly and consistently, and monitor their condition throughout the production run. Old, contaminated lubricant should be completely removed during the cleaning process before fresh lubricant is applied.
3. Conduct Routine Visual and Dimensional Inspections
You can’t fix what you don’t know is broken. Regular inspections are the diagnostic core of your maintenance program. These should be performed every time a die is removed from the press. The first step is a visual inspection. Look for obvious signs of trouble: chipped edges, cracks, signs of galling, or heavy wear on punches, buttons, and forming surfaces. Check for broken springs, loose fasteners, and guide pin wear.
Beyond the visual check, a dimensional inspection is critical for ensuring part quality. Over time, die components wear down, affecting their critical dimensions. Using precision measurement tools like micrometers, calipers, and CMMs, periodically check key areas of the die against its original design specifications. This helps you catch gradual wear before it causes parts to fall out of tolerance, saving you from producing an entire batch of scrap.
4. Prioritize Timely Sharpening and Polishing
For any die that involves cutting, trimming, or piercing, the sharpness of its cutting edges is paramount. A dull edge doesn’t cut material cleanly; it tears and extrudes it. This results in large burrs on the part, excessive force on the press, and accelerated wear on the die itself. A regular sharpening schedule is essential for maintaining both part quality and die life.
Sharpening should be done by a skilled technician according to a predetermined schedule based on hit count, not just when burrs become excessive. It’s far better to remove a small, precise amount of material (e.g., 0.003-0.005 inches) frequently than to wait and be forced to remove a large amount, which significantly shortens the die’s overall life. After sharpening, stoning the edges to remove grinding burrs and polishing surfaces to a smooth finish can further reduce friction and improve performance.
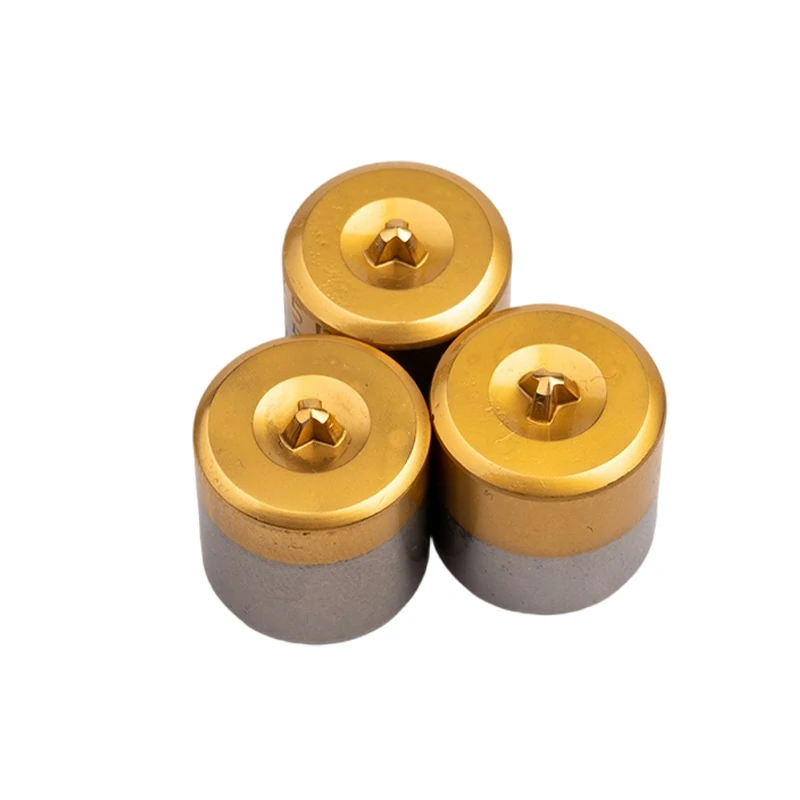
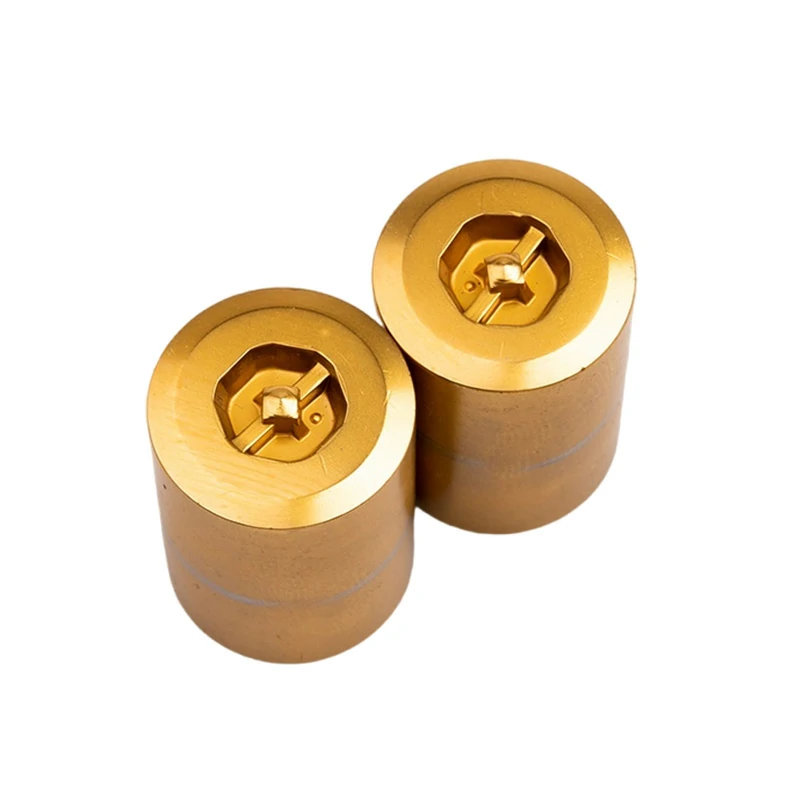
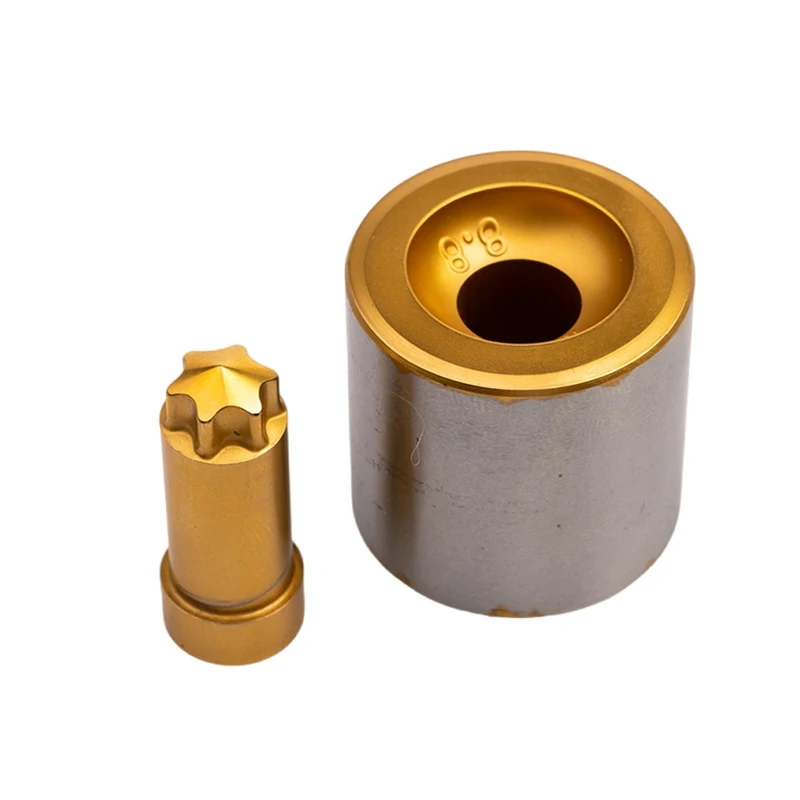
5. Monitor and Replace Wear Components Proactively
Certain components within a forming die are designed to wear out and be replaced. These include items like gas springs, coil springs, punches, bushings, and guide pins. Waiting for these components to fail during a production run is a recipe for disaster. A failed spring, for example, can cause a cascading failure that damages more expensive, custom-made parts of the die.
The solution is proactive replacement. Track the cycle count or service life of these wear items. Many manufacturers provide life expectancy ratings (e.g., in strokes). Plan to replace these components when they reach 80-90% of their expected life, even if they haven’t failed yet. This preventative approach is far less expensive than the extensive damage and downtime a component failure can cause.
6. Ensure Proper Die Handling and Storage
A die can be damaged just as easily when it’s out of the press as when it’s in it. Proper handling and storage procedures are crucial to protect your investment. When moving dies, always use designated, properly rated lifting equipment. Never lift a die by its delicate components. Ensure it is set down gently on clean, stable surfaces, preferably wooden blocks, to protect the precision surfaces from damage.
For storage, dies should be kept in a clean, dry, and organized environment. Before storing a die, it should be thoroughly cleaned and coated with a suitable rust preventative. This is especially important for long-term storage. Storing dies on dedicated, clearly labeled racks not only protects them but also improves efficiency by making them easy to locate and retrieve for the next production run.
7. Maintain Detailed Records and Documentation
If you don’t document it, it didn’t happen. A detailed maintenance log for each die is an invaluable tool. This “living document” should track every aspect of the die’s life. What information should be recorded? It should include the date of service, the number of cycles run, the type of maintenance performed (e.g., cleaning, sharpening, component replacement), measurements of critical wear areas, and notes from the technician.
This historical data is a goldmine. It allows you to identify recurring problems, predict when future maintenance will be needed, and make informed decisions about when a die is nearing the end of its useful life. It also provides a clear baseline for performance, helping you diagnose issues more quickly when they arise. This documentation is a key element in demonstrating expertise and trustworthiness in your quality control processes.
8. Invest in Comprehensive Operator Training
Your press operators are the first line of defense for your dies. They interact with the tooling every single day and are in the best position to spot the early warning signs of a problem. However, they can only do so if they are properly trained. Training should go beyond simply running the press; it should empower operators to be active participants in the maintenance process.
Operators should be trained to recognize the sounds of a struggling die, to identify changes in part quality (like new burrs or surface marks), and to perform basic in-press cleaning and checks. They must understand the critical importance of proper die setup and lubrication. Creating a culture where operators feel comfortable and responsible for reporting minor issues immediately can prevent those minor issues from turning into major, production-stopping failures.
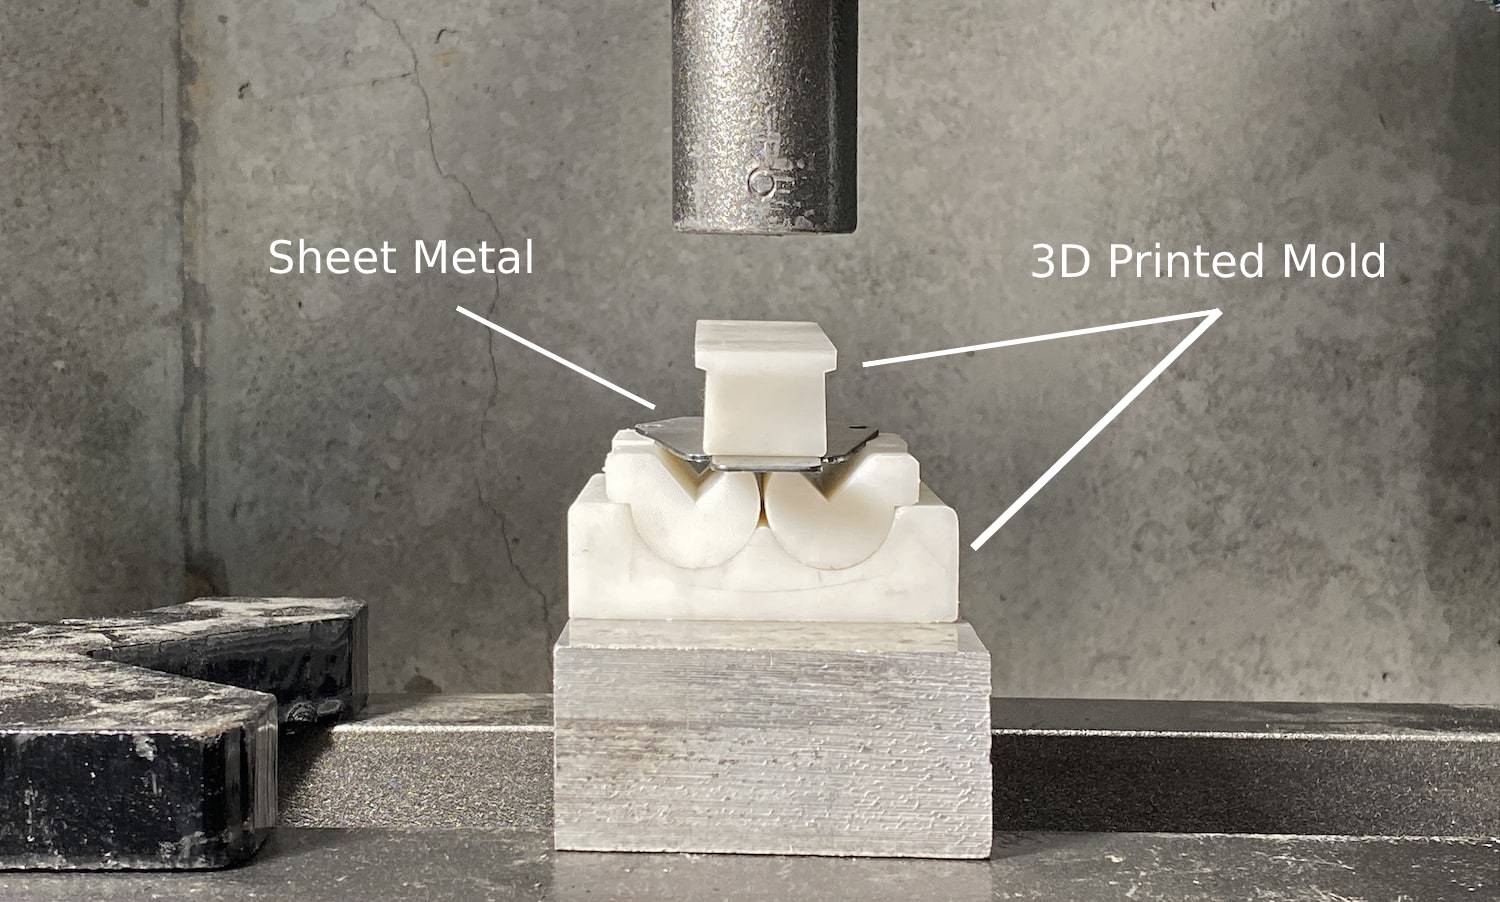
9. Verify and Calibrate Die Setup and Alignment
Even a perfectly maintained die will fail if it’s not set up correctly in the press. Improper alignment can cause uneven loading, which leads to excessive, localized wear and can even crack the die. Ensuring the press bed and ram are parallel and that the die is properly seated and clamped is a critical prerequisite for any production run.
Use precision tools to verify alignment before starting production. Check shut height carefully to avoid “coining” or bottoming out the die, which puts immense stress on both the die and the press. This calibration step should be a standard part of your setup checklist for every single run. It ensures that the forces of production are distributed exactly as the die designer intended, maximizing performance and lifespan.
10. Develop a Strategic Spare Parts Inventory
While proactive replacement handles predictable wear items, unexpected failures can still occur. When they do, the time it takes to get a replacement part can be the difference between a few hours and a few weeks of downtime. This is where a strategic spare parts inventory comes into play.
Work with your die builder (like Xiluo Mold) to identify the critical, custom components of your die that have long lead times. While you don’t need to stock a full duplicate of every part, having a spare set of high-wear custom punches, forming inserts, or unique components can be a lifesaver. Analyze your maintenance records to identify which parts fail most frequently and prioritize stocking those items. This strategic inventory acts as an insurance policy against extended, costly downtime.
Creating Your Custom Die Maintenance Checklist
To put these practices into action, it helps to have a tangible checklist. The table below provides a template that you can adapt to your specific dies and operational needs. This structured format ensures consistency and accountability in your maintenance program.
| Task/Inspection Point | Frequency | Checkpoints / Notes |
|---|---|---|
| Visual Inspection (In-Press) | Before/After Each Run | Check for loose bolts, debris, part ejection issues. |
| Thorough Cleaning (On Bench) | Per Schedule (e.g., every 50,000 hits) | Remove all lubricant and debris. Clean vents. |
| Inspect Cutting Edges | Per Schedule / When burrs appear | Look for chipping, rolling, or excessive wear. |
| Check Springs and Wear Plates | During Bench Maintenance | Check for cracks, broken springs, and measure for wear. |
| Dimensional Checks of Critical Areas | Monthly or Quarterly | Measure against print specifications. Log results. |
| Apply Rust Preventative | Before Storage | Ensure full coverage on all non-production surfaces. |
Partner with an Expert for Your Die Needs
A successful maintenance program starts with a high-quality, well-designed die. At Xiluo Mold, we engineer and manufacture precision forming dies built for durability and ease of maintenance. Our expertise in materials science and advanced manufacturing techniques ensures you receive tooling that not only performs flawlessly but also stands the test of time. By providing comprehensive documentation and support, we empower our clients to implement the best maintenance practices from day one. Contact us today to learn how our superior forming dies can be the foundation of a more efficient and profitable production process.
Frequently Asked Questions (FAQ)
How often should forming dies be maintained?
The frequency of maintenance is not one-size-fits-all. It depends on the die’s complexity, the material being formed, the production volume, and the age of the tool. A good starting point is to perform a visual inspection before and after every run, and a thorough bench inspection and cleaning every 50,000 to 100,000 cycles. However, you should adjust this schedule based on the data you collect in your maintenance logs.
What are the most common signs of a poorly maintained die?
The signs often appear in the parts first. Look for increased burrs, surface scratches or galling, inconsistent dimensions, or cracking. On the die itself, common signs include chipped or worn cutting edges, broken springs, visible residue buildup, and evidence of improper lubrication like scoring on guide pins or forming surfaces.
Can proper maintenance really improve part quality?
Absolutely. Proper maintenance is directly linked to part quality. A clean, sharp, and dimensionally accurate die is the only way to produce consistent, in-spec parts. Maintenance prevents defects caused by debris, dull edges, and worn components, ensuring that every part you produce meets the required standards.